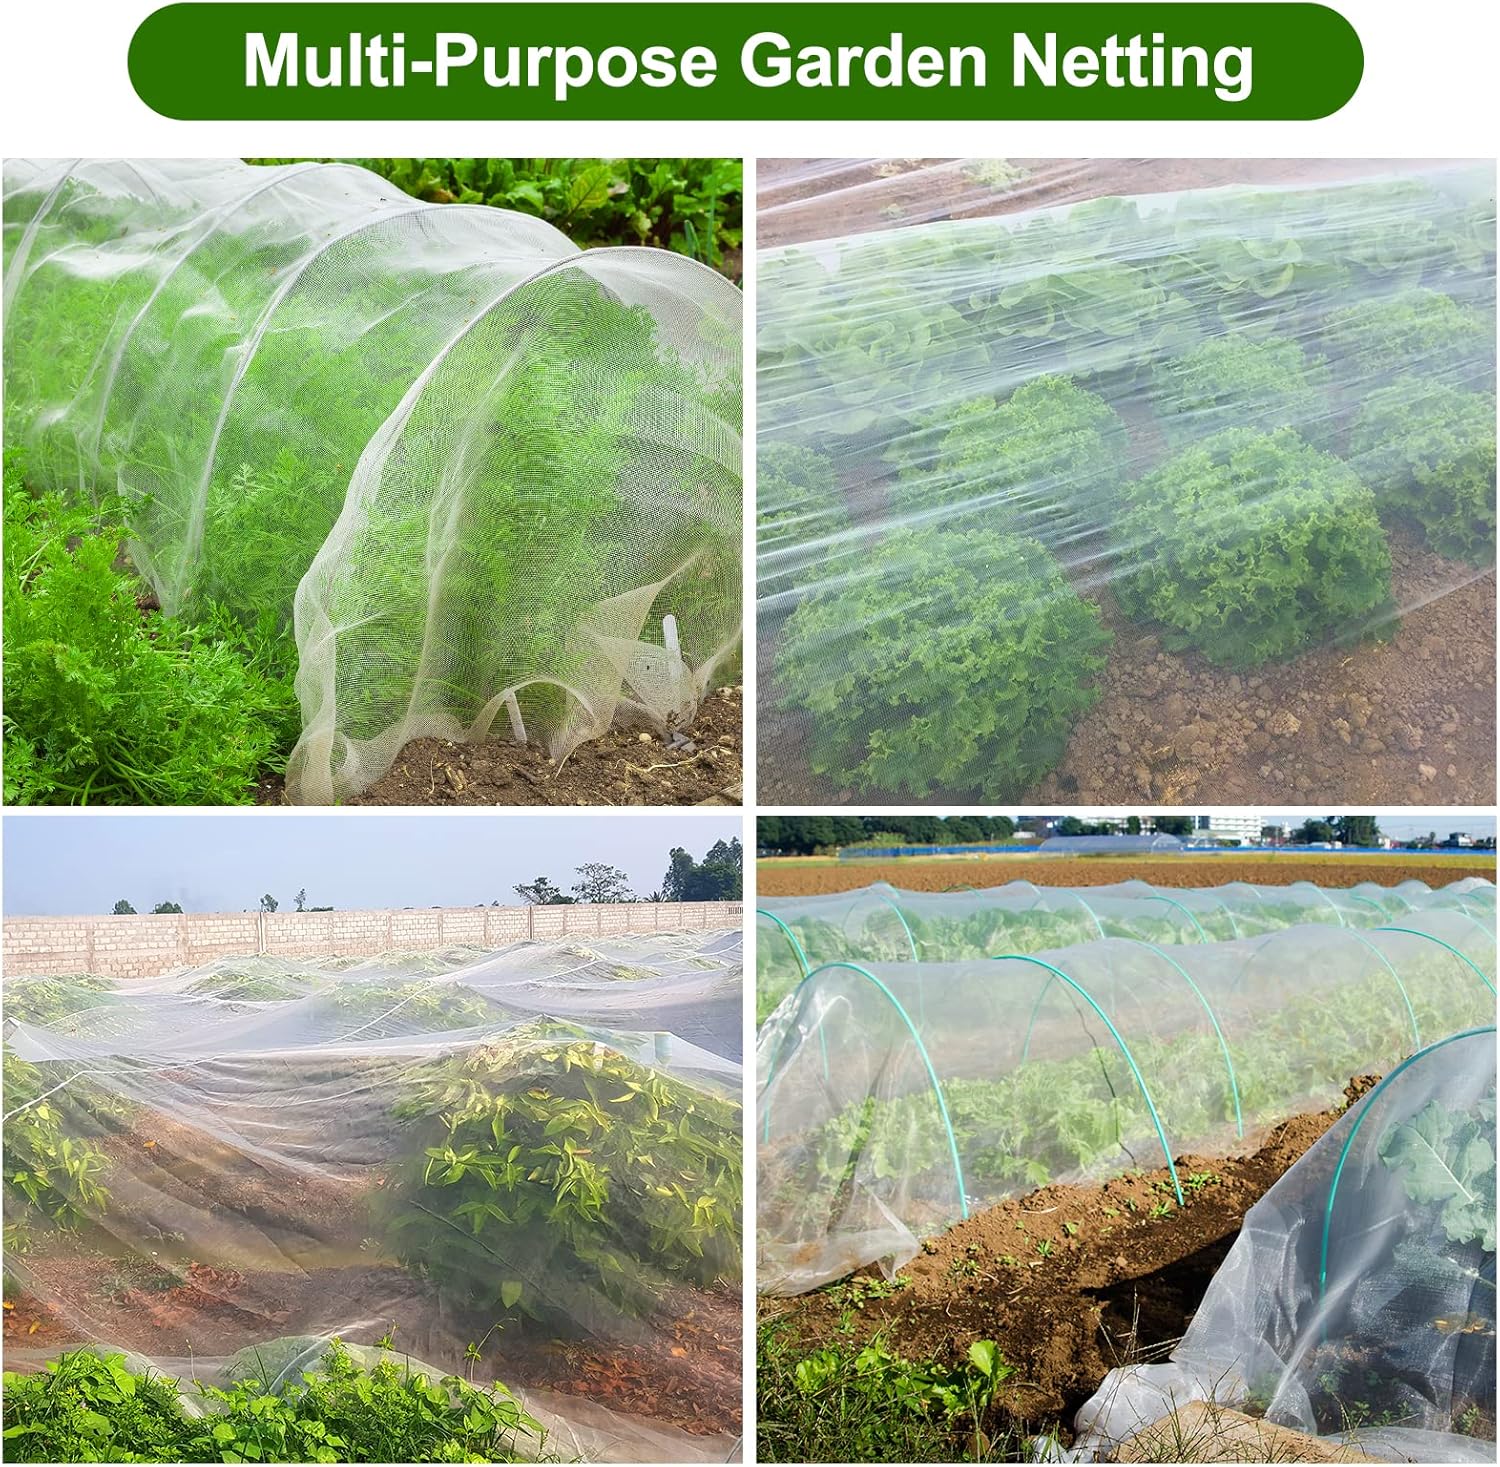
Your garden isn’t just a patch of dirt—it’s a battleground. Birds, rabbits, squirrels, and bugs are all out to sabotage your crops.
The solution? Garden netting. It’s like armor for your plants—letting in sun and rain but keeping the munchers out.
Unlike chemical sprays, garden netting gives you a safe, reusable, and eco-friendly way to protect fruits, vegetables, or even cannabis.
Plus, it’s easier than you think to install, whether you’re covering tomatoes, lettuce, or grow tents indoors.
In this guide, we’ll cover the top-rated garden netting picks for 2025, and walk you through how to install them step-by-step—no experience needed.
Pair it with energy-efficient grow lights like the VIPARSPECTRA XS1000 or the Spider Farmer SF-1000, and your indoor grow game just leveled up.
Let’s keep the pests out and the yields up!
Why Garden Netting Matters for Cannabis Growers

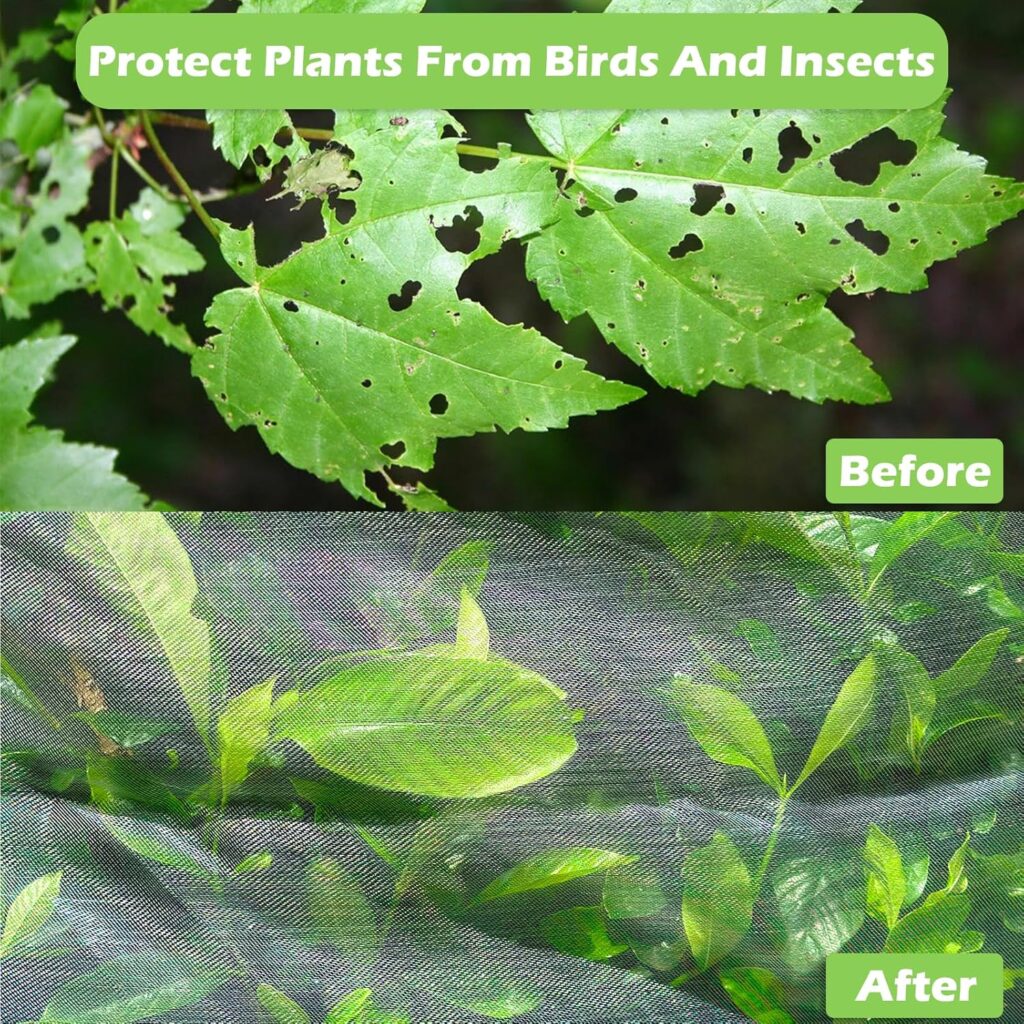
1. Shields Plants from Pests and Wildlife
Garden netting acts as a physical barrier, blocking:
- Aphids, whiteflies, thrips, and leafhoppers
- Caterpillars and Japanese beetles
- Birds, squirrels, and small animals
This non-toxic method protects crops without harming wildlife—perfect for outdoor cannabis setups.
2. Supports Organic Growing by Reducing Pesticides
Bug netting helps eliminate the need for sprays and traps. Benefits include:
- Fewer chemical applications
- Better moisture retention and wind protection
- Compliance with organic grow practices
It’s a sustainable way to keep your crop safe and chemical-free.
3. Boosts Airflow and Prevents Mold
Good airflow = healthy buds. Netting:
- Improves canopy spacing for better circulation
- Reduces humidity buildup and mold risk
- Encourages stronger CO₂/O₂ exchange
This keeps flowers dry, dense, and rot-free.
4. Increases Light Penetration and Yield
Strategically installed netting helps:
- Spread light evenly across lower branches
- Expose more bud sites (node points)
- Support heavy colas during flowering
This results in fuller canopies and higher harvest weights.
Choosing the Right Garden Netting for Your Grow

Not all garden netting works the same. The right choice depends on your environment and what you’re protecting against.
Mesh Size & Material:
Fine mesh (0.25–0.85 mm) blocks aphids, thrips, and whiteflies—ideal for cannabis. Choose:
- Polypropylene – Durable, UV-resistant (great outdoors)
- Nylon – Flexible and strong for heavy buds
- Bioplastic (PLA) – Eco-friendly, lets in ~88% light
- Polyethylene – Malleable for frame setups
Avoid netting that blocks too much light—cannabis needs high PAR exposure.
Bug Netting vs. Bird Netting:
- Bug Netting: Small holes for insect control (use during veg & early flower)
- Bird Netting: Larger mesh (20mm) for birds, squirrels, and still lets pollinators in (best outdoors)
Use bug netting early. Remove during pollination if needed.
Indoor vs. Outdoor Netting:
- Indoor Grows: Use horizontal plastic trellis netting to maximize light and canopy control.
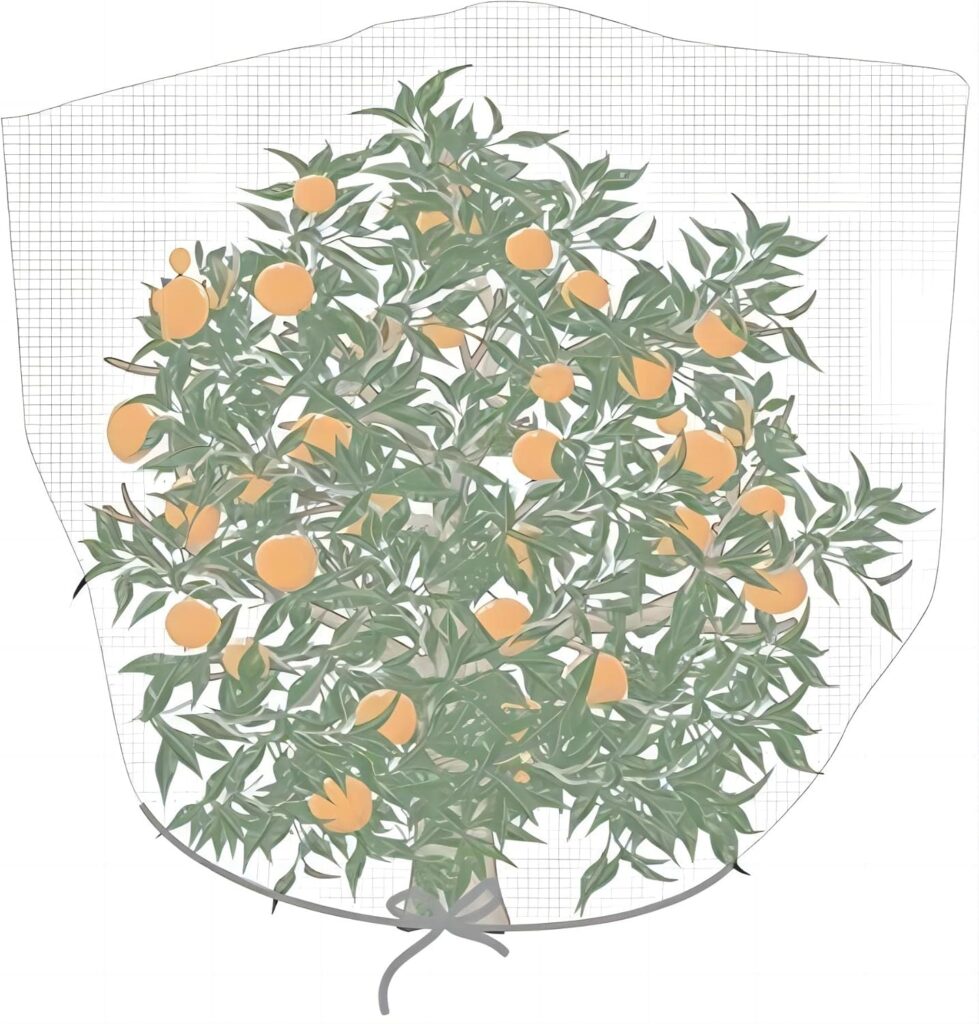
- Outdoor Grows: Go with vertical + horizontal support. Use UV-stable netting with strong anchor points to hold large, heavy plants.
Pro Tip: Whether indoors or out, always choose breathable netting that fits your frame, handles stress, and matches your pest situation.
How to Install Garden Netting Step-by-Step

Installing garden netting properly is key to protecting your cannabis without stunting growth. Here’s how to get it right from the start:
Step 1: Install at the Right Plant Stage
Timing is everything.
- For feminized cannabis, install 2–3 weeks into veg—just before stretch.
- For regular strains, wait until after pollination but before pests arrive.
Early netting limits growth, late netting means damage. Aim for early flower when buds are still small.
Step 2: Measure and Cut Accurately
Measure the full canopy area + 1 ft margin on all sides.
- For individual plants: wrap netting circumference-style.
- For grow beds: lay netting flat, then cut rolls to fit.
Use sharp scissors or a utility knife. Keep cuts clean for easy installation and future access.
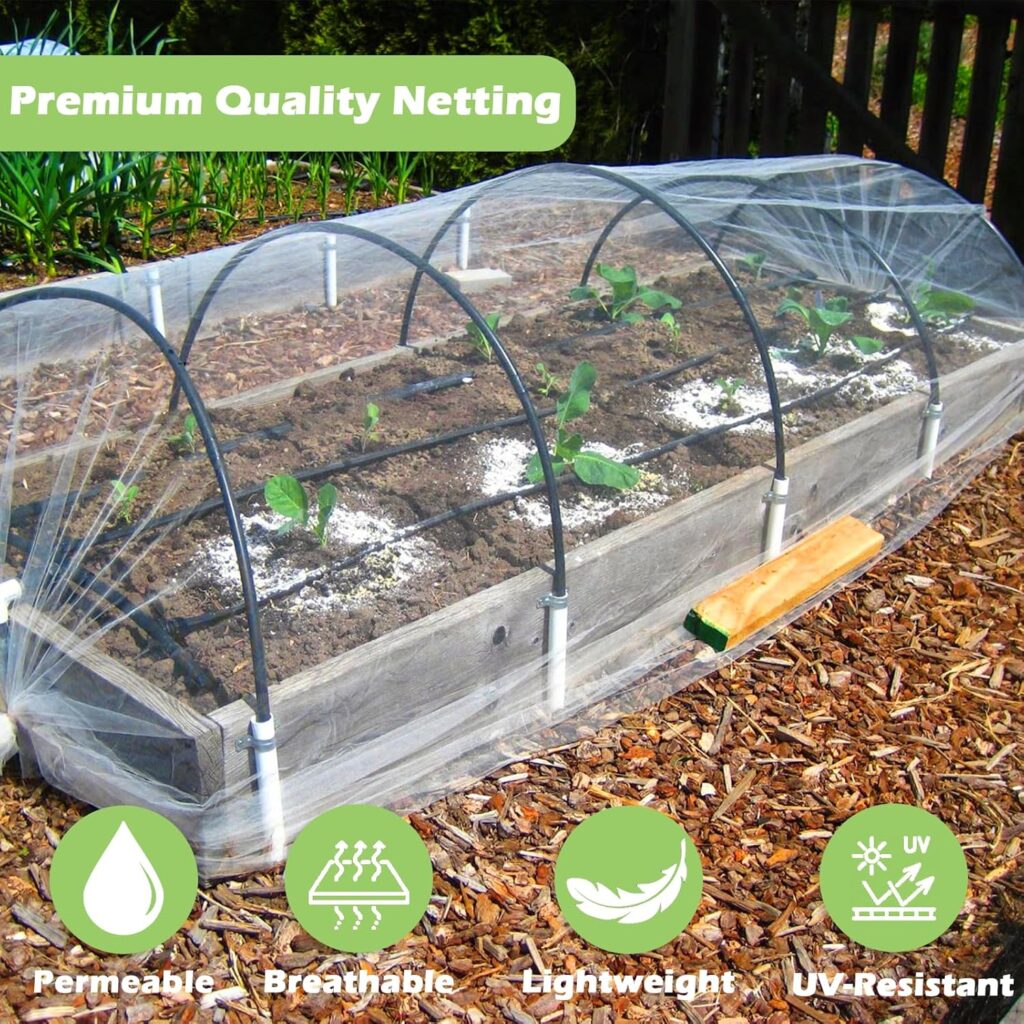
Step 3: Build a Support Frame
Choose your structure based on grow type:
- Outdoors: Use bamboo, PVC, or wooden stakes 6″ above canopy.
- Individual pots: Try tomato cages or dome-style netting wraps.
- Grow beds: Stake corners and use plant ties for stability.
Pro Tip: Angle the frame slightly upward to prevent sagging over time.
Step 4: Secure It Properly
Tighten netting, but don’t compress branches or buds.
- Use UV-stable zip ties, clips, or twist ties.
- Stake the bottom with ground pins or weigh with rocks/boards.
- Double-check edges—pests love to crawl under loose netting.
Step 5: Inspect & Adjust
Look for gaps, sagging mesh, or contact with buds.
- Re-secure after storms or wind.
- Avoid direct contact with flowers—some pests lay eggs on the mesh surface.
- Ensure airflow remains strong to prevent mold.
🥇 Top Garden Netting for Cannabis Growers in 2025
Whether you’re shielding a small home grow or managing a full outdoor crop, garden netting is a must-have for protecting cannabis during key growth stages.
After testing the top brands, these three stood out for performance, durability, and price.
1. Agfabric Garden Insect Netting
🔒 Best for Flowering Stage | 6.5 ft × 30 ft – $24.69
Why it rocks:
- Ultra-fine mesh (0.03″) blocks pests like aphids and thrips
- 91% light transmission keeps bud sites strong
- Breathable to prevent mold
- UV-resistant, reusable, and easy to fold away
Grower tip: Ideal for the flowering phase, when pest protection matters most and light must still reach every bud.
2. Bio Green PRO P 600 Netting
🌿 Best for Large Outdoor Grows | Heavy-duty
Why growers love it:
- Reinforced edges won’t fray when cut
- Handles sun, rain, and wind without tearing
- Perfect for big plots and custom fits
Bottom line: This is the commercial grower’s choice—a higher upfront cost, but unmatched for long-term durability outdoors.
3. Garden Tailor Mosquito Netting

💸 Best Budget Pick | 15 ft × 15 ft – $23.99
Why it’s great for small grows:
- Fine 0.025″ mesh keeps out tiny bugs
- Lets 91% of light & 94% of air through
- Lightweight but holds up in strong wind
- Affordable for hobbyists and first-timers
Perfect for: Home growers protecting 1–2 plants in tight spaces without skimping on airflow or visibility.
✅ Tips for Safe and Effective Garden Netting Use
1. Keep Netting Off Buds
Avoid letting garden netting touch cannabis flowers directly—this can damage trichomes or leave behind fibers. Always maintain a 4-inch gap from buds to allow space for growth and airflow.
2. Use Netting for Low-Stress Training (LST)
Garden netting doubles as a trellis during the veg stage. Weave or zip-tie branches gently to open the canopy and expose more bud sites to light—boosting airflow and overall yield without stressing your plants.
3. Remove Netting Carefully Post-Harvest
Gently lift or unhook netting from one side and pull slowly to avoid damaging buds. Clean or replace netting between grows to avoid contamination—especially important in organic setups.
❓ Common Questions About Garden Netting for Cannabis
Q1. Will garden netting block light?
Not much. Quality insect netting lets through 80–90% of light. Bonus: it also diffuses light evenly across the canopy, which can improve growth.
Q2. Can I reuse garden netting?
Yes—if it’s cleaned properly between cycles. Wash off dirt and residue, inspect for damage, and store dry to extend its lifespan.
Q3. Is it safe to use netting with beneficial insects?
Absolutely. Fine-mesh garden netting can keep ladybugs, lacewings, or nematodes inside your grow area when used on vents. This boosts biological pest control naturally.
Q4. How often should I replace netting?
High-quality polyethylene netting lasts up to 5 years with care. Replace it sooner if it shows signs of fraying, brittleness, or tears.
🌿 Final Takeaway
Garden netting gives cannabis growers chemical-free pest protection, better airflow, and light diffusion—all vital for big, healthy yields.
Whether you’re indoors or out, netting lets you grow cleaner, greener, and smarter.