


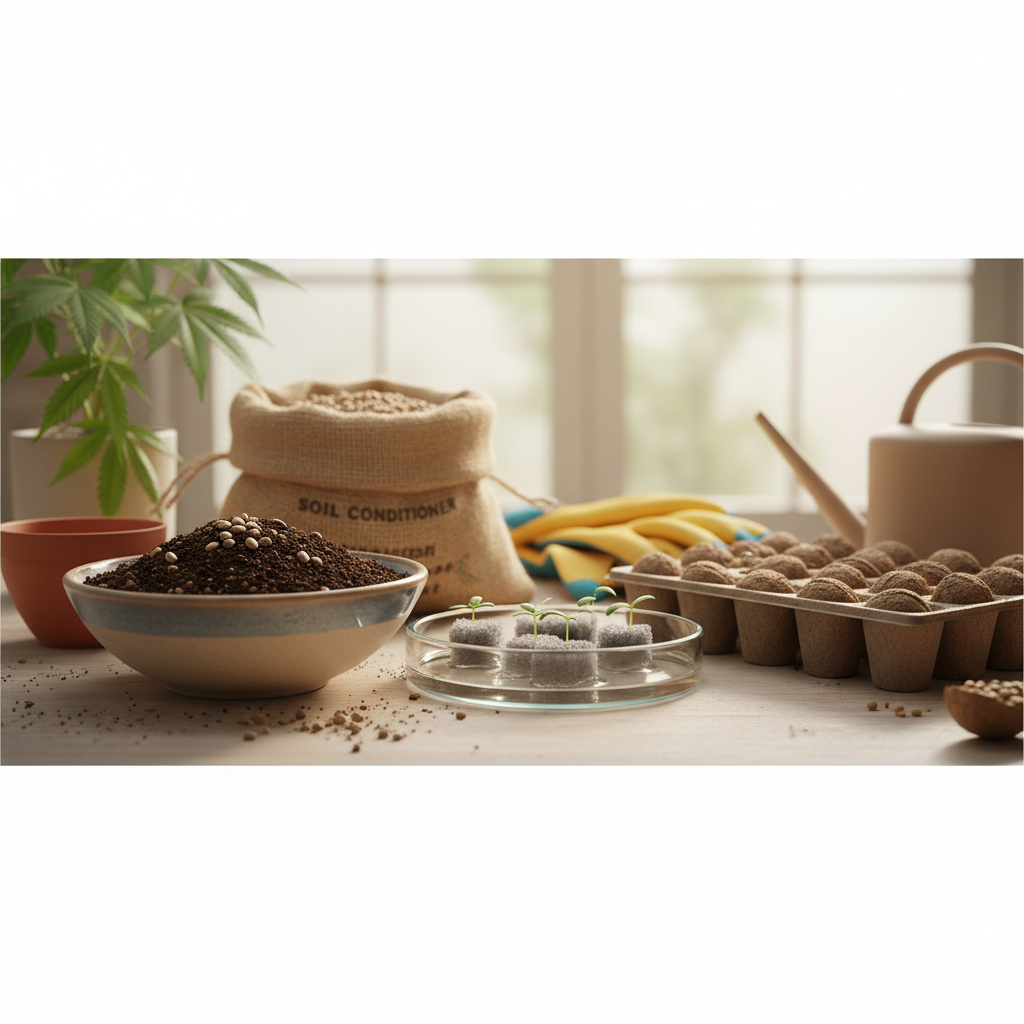
What if the first mistake in cannabis germination happens before the seed touches water? Many growers focus on temperature and moisture.
But many forget just how crucial the germination medium is.
The ideal germination medium must balance moisture retention, airflow, and support for delicate roots, ensuring a clean and loose environment that allows for easy movement.
Heavy, nutrient-rich soils can be harmful at this stage.
They may create stressful conditions for the emerging roots by becoming too wet and compacted.
In contrast, using starter mixes or soilless materials can facilitate successful germination, provided their moisture levels are consistently monitored.
The key is not to focus on what the plant will need later as it matures but instead prioritize the immediate needs of the seed.
This means maintaining steady moisture and adequate oxygen flow while providing an unobstructed path for root development.
Here’s your quick answer: Choose a clean, loose germination medium.
It should hold moisture and let in lots of oxygen.
The emerging root needs a clear, uncompacted path.
Cannabis seeds need gentle support, not nutrients.
Avoid dense or heavily fertilized soils, and regardless of option (water, paper towels, plugs, or starter mix), keep the medium from staying saturated or drying out between checks.
Table of Contents
- 1. Start With the Seed’s Real Needs
- 2. Compare the Main Germination Medium Options
- 3. Match the Medium to the Germination Method
- 4. Prepare the Medium Before Planting
- 5. Troubleshoot Slow or Uneven Germination
A simple seed-starting mix is usually the most forgiving choice for beginners. > Let’s explore the main germination medium options.
A simple seed-starting mix is usually the most forgiving choice for beginners.
2.
Compare the Main Germination Medium Options
A simple seed-starting mix is usually the most forgiving choice for beginners.
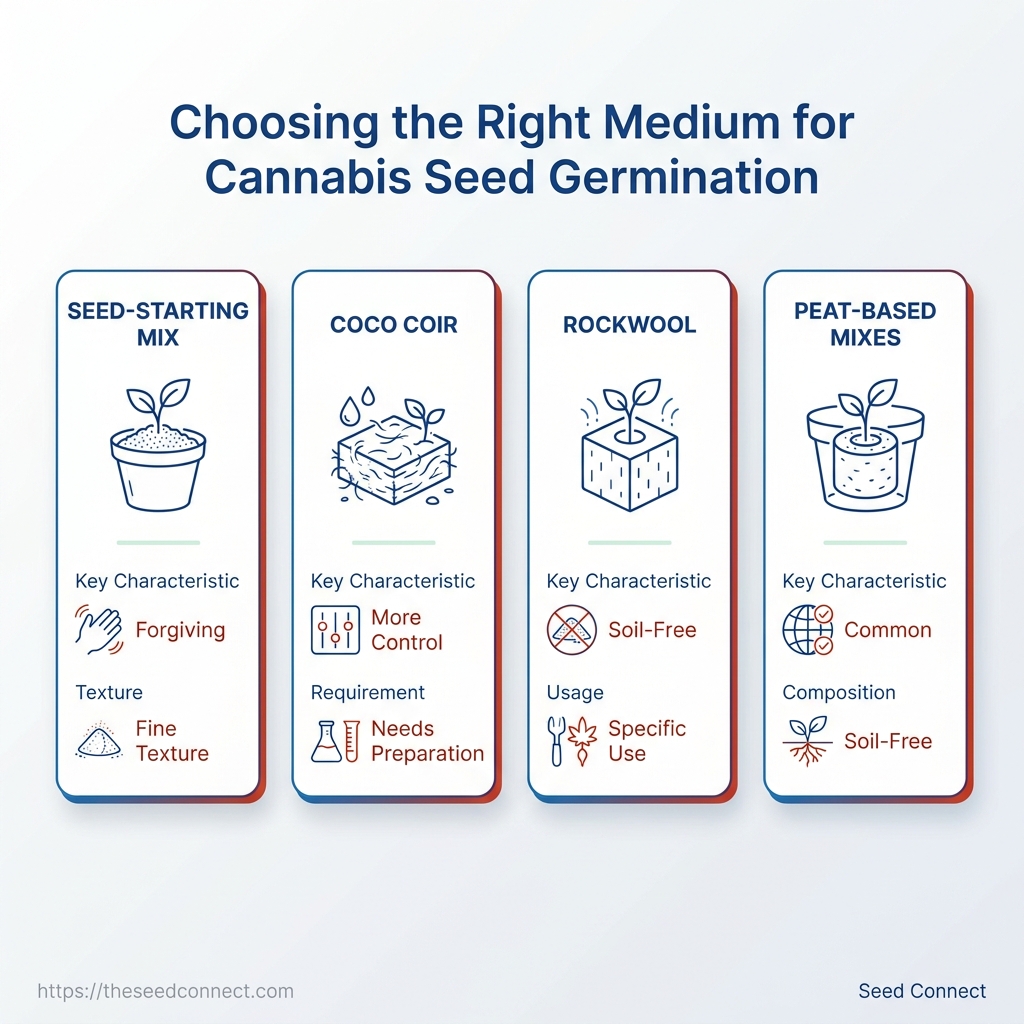
Its fine texture supports early roots without demanding much preparation, and a pre-made blend reduces the guesswork around particle size, drainage, and starter nutrition.
Coco coir allows experienced growers to have more control.
However, it often needs rinsing, buffering, and careful moisture checks before use.
Poorly prepared coir may contain excess salts, while overwatering can leave the young root zone too wet.
Rockwool, peat-based mixes, and other soil-free media solve different problems.
Searching for the best soil for cannabis can lead to the wrong comparison because germination is often easier in a light seed germination substrate than in dense garden soil.
Germination Medium Comparison
Coco and rockwool suit growers who will monitor preparation and moisture closely, while seed-starting and commercial soilless mixes make the first attempt simpler.
A pre-made seed-starting product can be especially useful when supplies are limited or timing matters.
Choose one with a fine but loose texture, avoid blends containing large wood pieces, and do not add strong fertilizer before the seedling has established roots.
For most first attempts, start with a quality seed-starting mix.
Move to coco, rockwool, or a custom soilless blend when you have a clear reason to control the medium more closely.
> **Key Takeaway:** >3. Match the Medium to the Germination Method
Picture two healthy seeds placed in different media. >
3.
Match the Medium to the Germination Method
Picture two healthy seeds placed in different media.
3.
Match the Medium to the Germination Method
Picture two healthy seeds placed in different media.
One sits in a starter pot, while the other rests inside a folded paper towel.
Both can succeed.
The better result usually comes from steady moisture, careful handling, and regular checks—not a secret recipe.
Your method should fit the way you naturally work.
Direct sowing reduces handling, while pre-germination gives you a closer look at root development.
Plugs and starter cells sit between those options, offering structure without requiring a large container.
The right germination medium is the one you can monitor reliably.
A perfect seed germination substrate becomes a poor choice when it dries out, stays saturated, or gets disturbed repeatedly.
Direct sowing in a starter pot
Direct sowing works well when you want to avoid moving a delicate sprout.
Use a clean, small container with drainage and a lightly moistened growing medium.
Place the seed at the depth recommended for the variety, then cover it gently without pressing down.
Keep the container in a stable environment and check its moisture at least once daily.
The surface should feel lightly damp, not muddy.
Once the seedling emerges, provide gentle light and avoid watering heavily around the stem.
This method suits growers who can leave the container undisturbed until the seedling establishes.
Paper towel pre-germination
Paper towel methods provide a simple way to confirm that a root has emerged before transplanting.
Moisten the towel evenly, place the seed inside, and keep it in a warm, dark location inside a clean container or sealed bag with some air space.
Check it regularly.
Once a small root appears, move the seed carefully into its prepared medium, using clean hands or sanitized tweezers.
Do not wait for a long root, because extra handling increases the chance of damage.
The method rewards close attention and gentle movements.
Propagation plugs and small starter cells
Plugs and small cells hold moisture evenly while giving the emerging root a defined space.
Prepare the plug or cell first, place the seed according to the product’s instructions, and keep the medium damp through light checks rather than repeated soaking.
Move the young plant into a larger container when roots hold the plug together and the seedling has developed steady early growth.
If the plug falls apart, wait and handle it less.
For growers comparing the tips for cannabis seed germination, consistency matters more than choosing between popular methods.
Pick one approach you can check calmly each day, then keep its moisture, temperature, and handling routine steady.
4. Prepare the Medium Before Planting
A seed can fail even before it touches the growing medium.
4.
Prepare the Medium Before Planting
A seed can fail even before it touches the growing medium.
Compacted material, standing water, dirty containers, or strong fertilizer can create issues before your seed germinates.
Preparation takes only a few minutes, but it removes several common causes of poor emergence.
Whether you use a starter mix, coco-based material, or another seed germination substrate, check its condition rather than planting immediately.
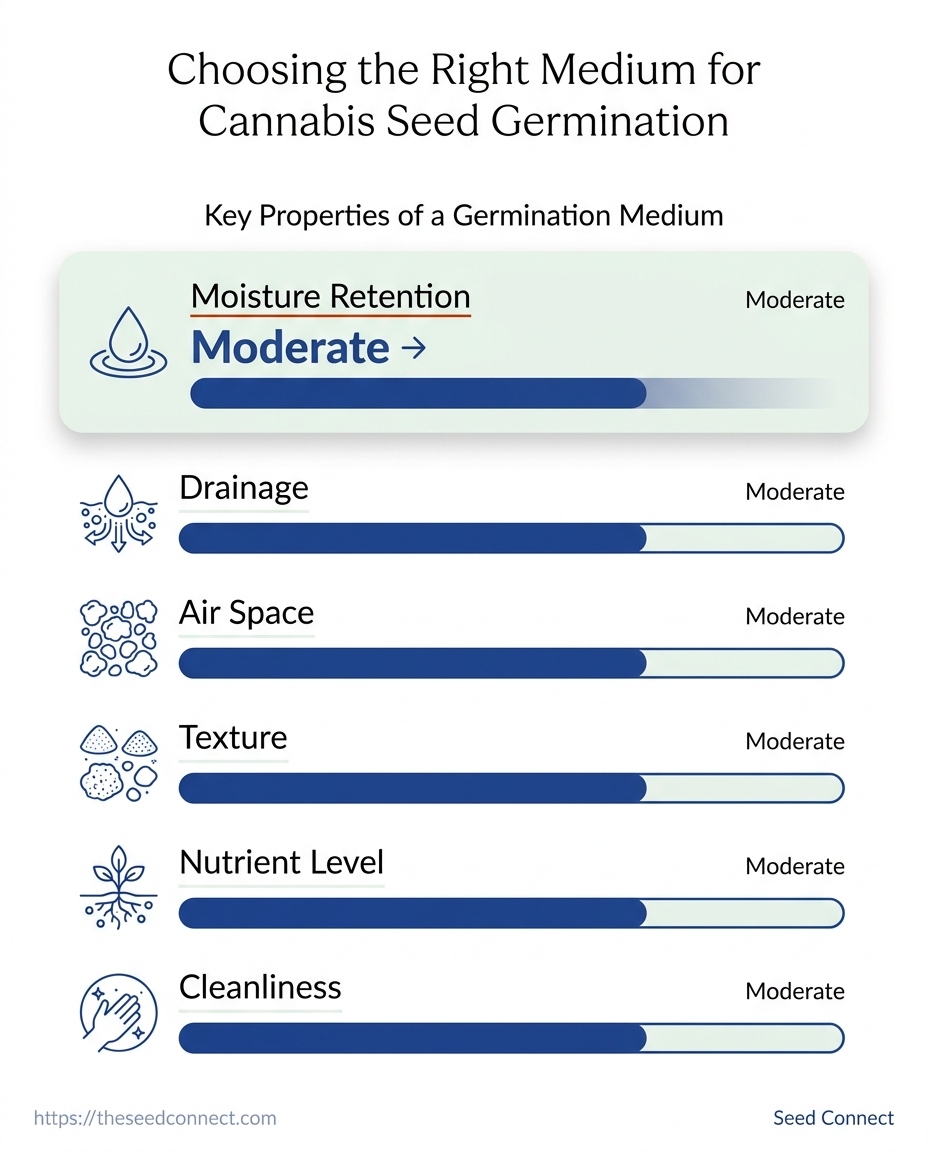
Test the Medium by Hand
Squeeze a small amount of prepared medium.
It should hold together briefly, then crumble with gentle pressure.
If it forms a muddy ball, it contains too much water.
If it will not hold any shape, it may be too dry for reliable planting.
Moisten the material evenly before filling the container.
Add water gradually and mix it through the medium instead of soaking one area.
The container should drain freely, with no puddle remaining on the surface.
Avoid adding liquid fertilizer or rich amendments at this stage.
Young roots need access to air and moisture, but concentrated nutrients can irritate them.
Even the best soil for cannabis at later stages may be too strong for a newly planted seed.
Clean, Label, and Place
Use a clean container with an unobstructed drainage path.
Reused pots should be washed and rinsed first, since old roots, algae, and leftover fertilizer can remain around the edges.
Fill loosely: Add the prepared medium without pressing it down.
Tap the container lightly to settle large gaps.
Check moisture: Confirm that the material feels evenly damp from top to bottom, not wet in isolated pockets.
Mark the container: Record the seed type and planting date before handling the seed.
Choose a stable location: Keep the container where temperature, moisture, and emergence can be checked easily.
Once planted, avoid treating the container like a fully established plant.
Apply only enough water to prevent the immediate planting area from drying, and pause if the surface remains wet.
A small measured amount is safer than repeated heavy watering.
Use This Pre-Planting Checklist
| Check | Pass condition | If it fails |
|---|---|---|
| Container drainage | Drainage holes are open and unobstructed | Clear the holes or change containers |
| Medium texture | Loose, fine, and free of hard clumps | Break up clumps or replace the material |
| Even moisture | Medium is damp throughout, without puddles | Mix in small amounts of water |
| Low nutrient strength | No strong fertilizer has been added | Use a milder seed-starting medium |
| Clean equipment | Container and tools are free from old residue | Wash, rinse, and dry them |
| Clear seed label | Variety and planting date are recorded | Label before planting |
| Suitable monitoring location | Container can be checked without disturbance | Move it to an accessible spot |
A clean container, balanced moisture, and gentle texture give the seed a far more consistent start.
5. Troubleshoot Slow or Uneven Germination
If a seed hasn’t sprouted, it doesn’t mean it has failed.
How fast a seed germinates can depend on its genetics, age, storage method, and slight changes in the environment.
Avoid disturbing the seed repeatedly; each inspection can damage a delicate root or shift the seed into a worse position.
Start by checking the pattern rather than reacting to one slow seed.
If several seeds struggle at once, the issue may involve the germination medium or surrounding conditions.
If one seed lags while others progress normally, genetics or previous storage may play a larger role.
Match the symptom to the likely cause
A medium that remains wet for too long can limit the air available around the seed.
The surface may look harmless while the lower area stays saturated.
Pause additional watering and allow conditions to move toward evenly moist rather than constantly wet.
When the medium dries too quickly, the seed may begin the process but lose the steady moisture needed to continue.
This often happens when a small container sits near moving air, strong light, or a warm surface.
Check the medium at regular intervals instead of waiting for visible wilting.
Burial depth also matters.
A seed placed too far below the surface may struggle to reach light, especially when the medium has settled around it.
Compaction creates a similar barrier by reducing the space available for the emerging root and shoot.
Use a gentle diagnostic sequence:
Check the surface and container: Look for persistent saturation, rapid drying, or water collecting below the seed.
Review the planting position: Confirm that the seed was not pushed deeply or covered by settled material.
Wait before disturbing it: Give the seed a reasonable observation period based on the variety and the supplier’s guidance.
Record what happened: Note the seed type, planting date, medium, watering pattern, and storage conditions.
Contact support when appropriate: Reach out when the seed remains inactive beyond the expected window, shows damage, or several seeds from the same pack behave unusually.
Avoid throwing away a slow seed before checking the seller’s policy.
Keep the original packaging, order details, and clear photos if a germination concern develops.
At Seed Connect, our Dependable genetics come first
Even the best soil for cannabis cannot correct poor storage or unreliable genetics. Choose seeds from a supplier that explains its germination policy, protects seeds during shipping, and provides access to knowledgeable support. A reliable germination medium gives a healthy seed a fair chance. It cannot replace dependable genetics, careful storage, and patient observation. Diagnose the pattern first, then change one factor at a time. The most important choice in cannabis germination happens before planting: selecting a medium that balances moisture, air, and drainage. The best soil for cannabis seedlings is rarely the wettest or richest option; a light, breathable germination medium gives emerging roots access to both water and oxygen. That principle connects every stage of the process. A seed placed in compacted soil or a saturated seed germination substrate may sit for days without progress, while a lightly moistened, well-aerated medium creates a more forgiving start. Preparing the medium first, choosing a method that suits its texture, and checking moisture before adding more water can prevent many cases of slow or uneven germination. Today, test your chosen medium before planting by squeezing a small amount in your hand: it should feel evenly damp, hold together briefly, and release no standing water. Prepare one container with proper drainage and lightly moistened medium before you handle the seed. From there, maintain steady warmth, resist the urge to disturb the seed, and watch for changing conditions rather than following a rigid schedule. Once the seedling emerges, your next useful skill is learning when to provide stronger light and begin a careful watering routine. The best germination medium is a clean, loose material that keeps moisture steady while allowing good airflow. This helps the emerging root grow without compaction. Cannabis seeds don’t need nutrition at this stage; they need a gentle, oxygen-friendly environment. Choose a medium you can monitor reliably and keep from staying saturated or drying out between checks. Yes, you can germinate cannabis seeds in soil, but “garden soil” is often a poor choice at this stage. The best soil for germination is typically a simple seed-starting mix that’s fine-textured, loose, and not nutrient-dense. Avoid heavy compost or mixes that stay wet for days because they can compact and reduce oxygen around the seed. You can use either paper towels or a substrate like rockwool, and both can succeed when moisture and handling are correct. The better outcome usually comes from steady moisture, careful handling, and regular checks rather than a single “secret” medium. Pick the option that matches your workflow and lets you prevent the root zone from staying too wet or drying out. Your germination medium should be moist but not soaking, with air still able to reach the seed zone. A practical check is to squeeze a small amount: it should hold together briefly, then crumble with gentle pressure. If it turns into a muddy ball, it has too much water; if it won’t form any shape, it’s likely too dry. Germination time varies and isn’t determined by the medium alone; genetics, seed age and storage history, and small environmental changes also play major roles. What matters most across soil, paper towels, and coco coir is consistent moisture plus oxygen to the tiny root as it emerges. Medium choice mainly changes how easily you can monitor and maintain those conditions.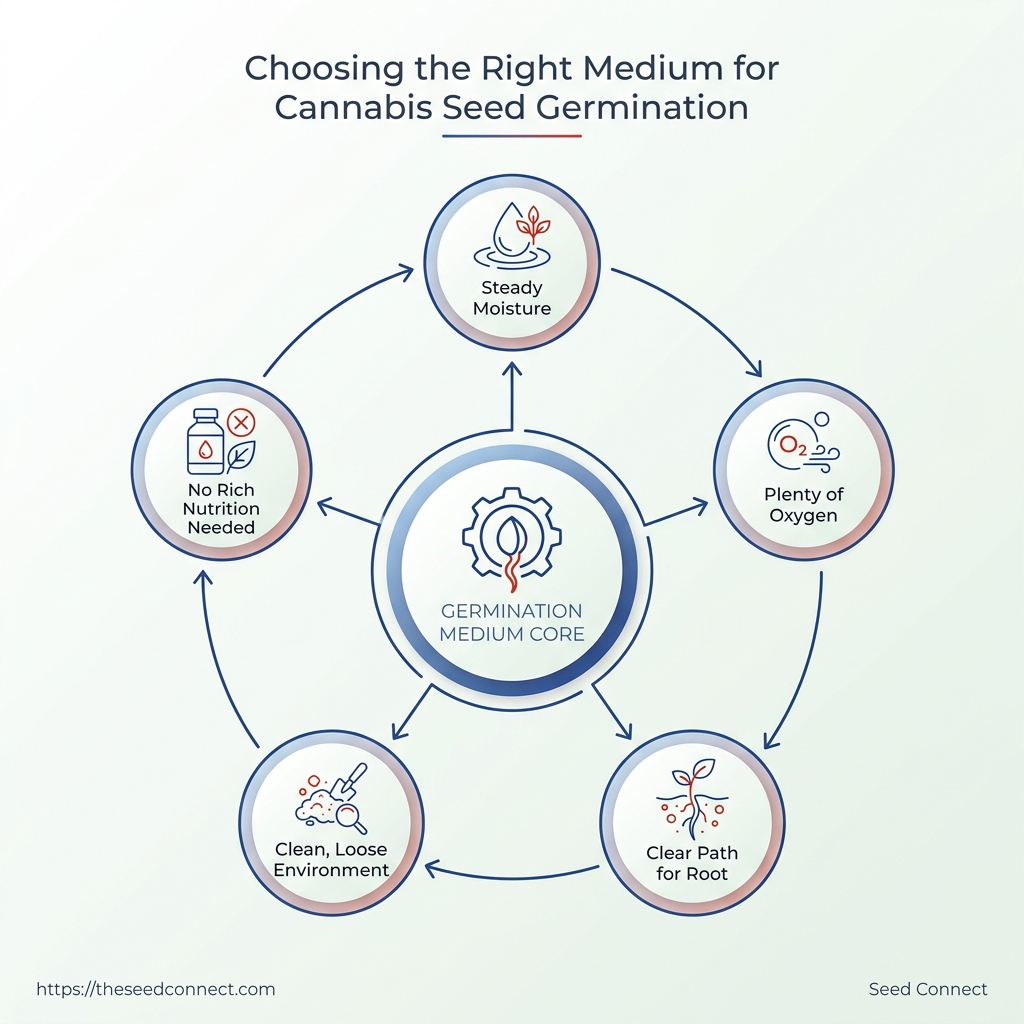
Conclusion
Give Your Seeds the Right Beginning
What is the best germination medium for cannabis seeds?
Can I germinate cannabis seeds in soil, and what soil is best?
Should I use paper towels or a seed germination substrate like rockwool?
How moist should a germination medium be for cannabis seeds?
How long does cannabis seed germination take in different media (soil vs paper towels vs coco coir)?