
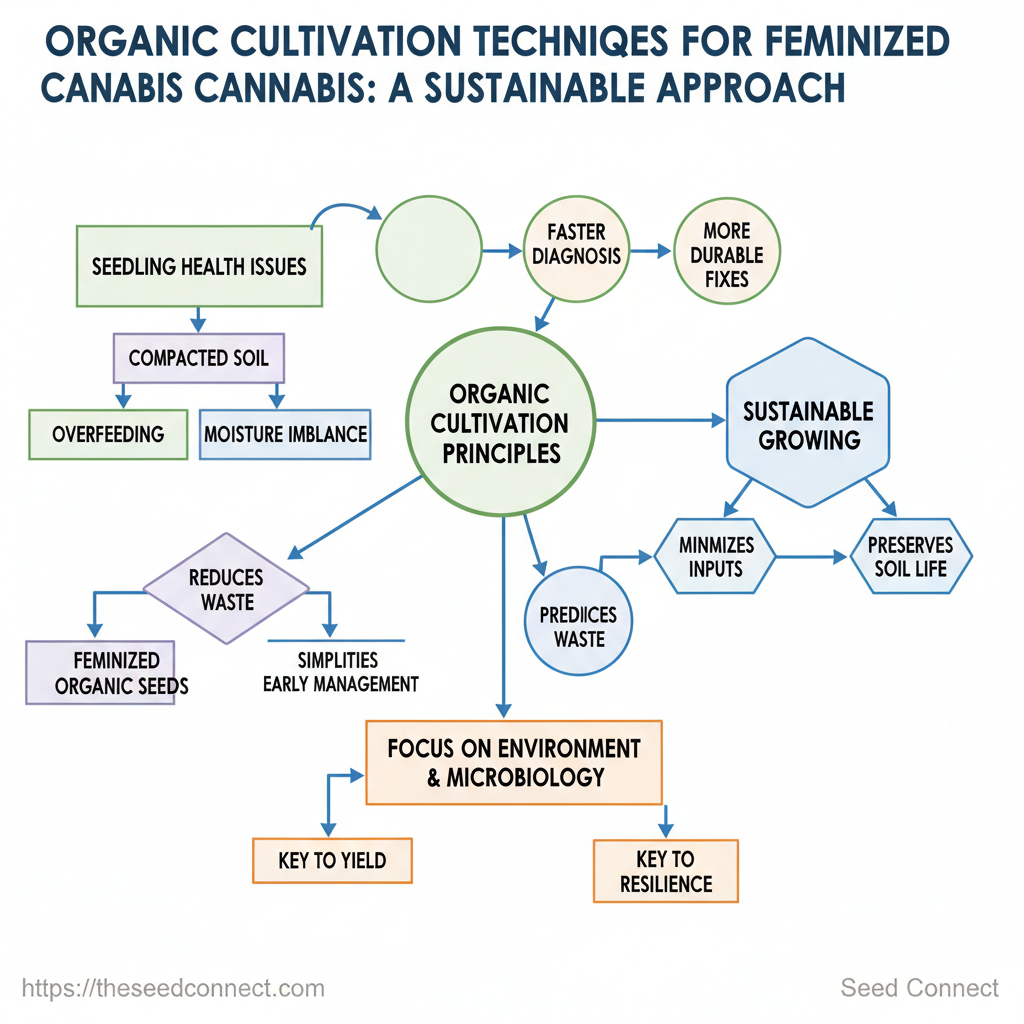
Seedlings that look healthy one day and limp the next are the single most demoralizing problem for small-scale growers. Too often the culprit is a cascade of subtle errors — compacted soil, overzealous feeding, or a hidden moisture imbalance — not a bad strain. Framing these failures through principles of organic cannabis cultivation makes diagnosis faster and fixes more durable.
Switching focus from quick fixes to systems-level care pays dividends for both yield and resilience, especially when pursuing sustainable growing methods that minimize inputs and preserve soil life. Choosing the right genetics matters: feminized organic seeds reduce wasteful culls and simplify early-stage management, letting growers concentrate on environment and microbiology. []
Table of Contents
Prerequisites and What You’ll Need
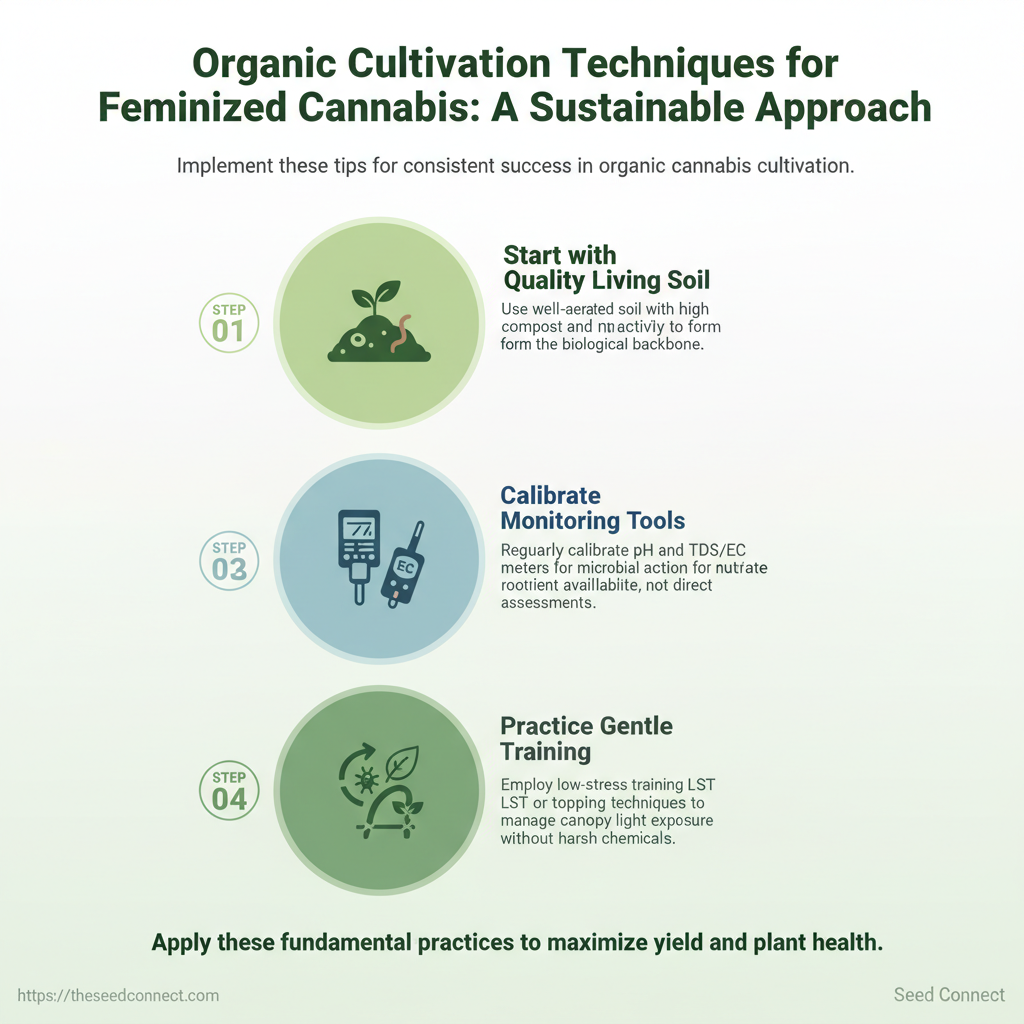
Start with living organic soil and a compact set of monitoring tools; those two decisions determine how hands-on the rest of the grow will be. Choosing a soil with good structure and an active microbial community removes much of the daily nutrient juggling, while reliable meters and simple equipment let you maintain stable conditions that favor root health and consistent germination of feminized organic seeds.
Core materials: soil and amendments
Worm castings — Add at transplant or top-dress to boost microbial activity and slow-release nutrients.
Compost (finished) — Use only fully finished compost; it provides humic substances and micronutrients without tying up nitrogen.
Mycorrhizal inoculant — Small doses at planting improve root access to phosphorus and trace elements.
pH and EC monitoring — A quality pH meter and handheld TDS/EC meter prevent common drift issues in organic systems.
Basic equipment and monitoring tools
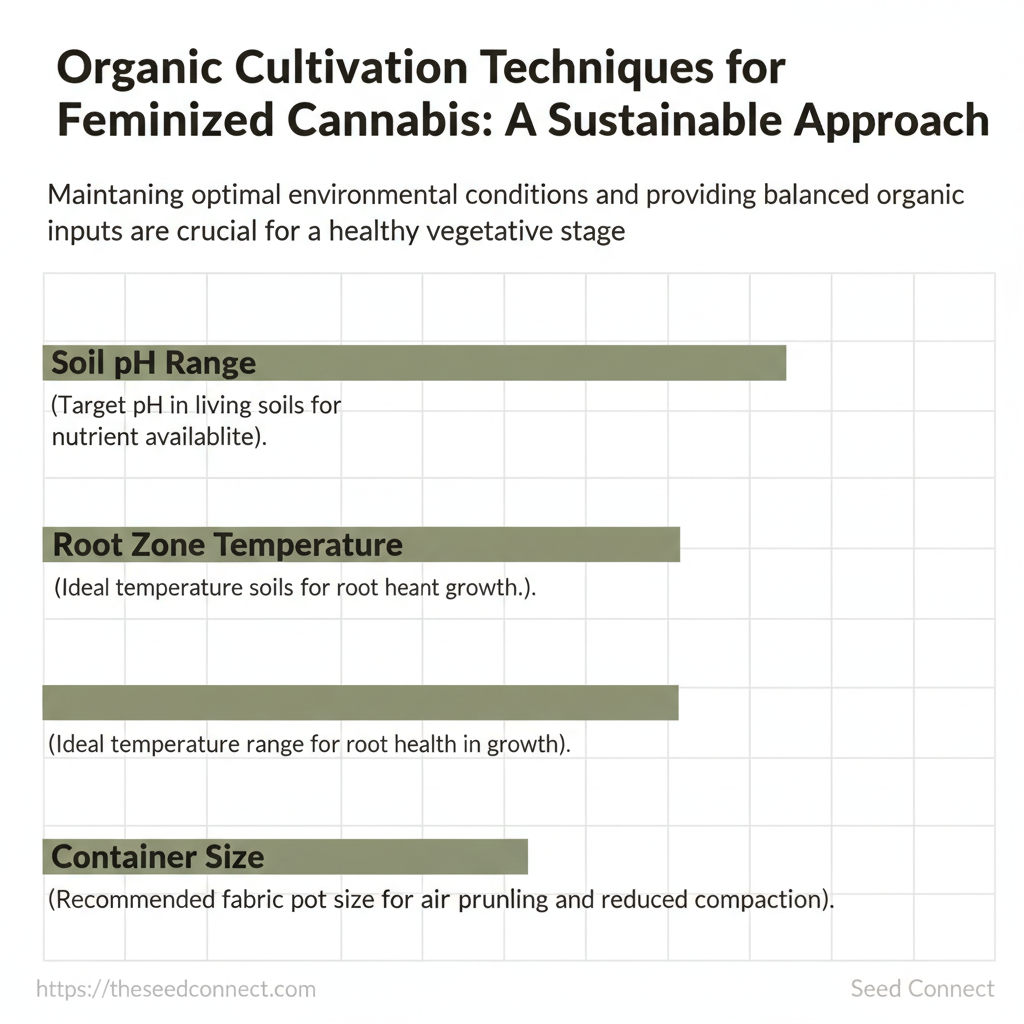
pH meter: Calibrate regularly; target 6.2–6.8 in living soils.
TDS/EC meter: Helpful during flushes and when using foliar teas.
Moisture meter & soil thermometer: Confirm that the root zone stays in the 18–24°C range and that moisture cycles are appropriate.
Simple hand tools: Transplant trowel, pruning shears, pH calibration kit, gloves.
How to prepare before planting
Amend with a teaspoon-scale dose of mycorrhizae per liter at transplant.
Calibrate meters and place a moisture sensor at root depth to collect baseline readings for the first week.
Expected outcomes: Proper preparation produces vigorous early root development, fewer nutrient lockup incidents, and higher germination success for feminized organic seeds. Practical checklists and a simple table below help prioritize purchases based on budget and certification. Essential soil amendments and tools for organic feminized cannabis cultivation to help readers select items based on budget and availability
Purpose
Typical Cost Range
Organic Certification / Notes
Living potting soil
Base medium, microbial habitat
$10–$40 / 10 L bag
Look for OMRI or equivalent where available
Worm castings
Microbial inoculant, gentle nutrients
$8–$25 / 2–5 L
Often sold organic; nutrient-dense
Compost (finished)
Humus, micronutrients, structure
$5–$20 / 10 L
Use tested, finished compost only
Mycorrhizal inoculant
Root symbiosis, P uptake
$10–$35 / small sachet
Apply at planting; check organism strains
pH meter / TDS meter
Monitor root-zone conditions
$25–$120 each
Calibrate frequently; essential for stability
Cannabis Cultivation: Living Organic Ecosystems
Selecting Feminized Organic Seeds and Genetics
Start by choosing genetics that thrive with low inputs and organic feeding. For sustainable growing, prioritize strains with proven disease resistance, moderate-to-high vigor compatible with your container size, and breeders who document organic performance. These criteria reduce corrective interventions and improve consistency across batches. Prerequisites
Objective clarified: choose between maximum yield, terpene profile, or stealth/compact plants.
Budget set: factor seed cost against reuse and expected germination rates.
Tools and materials needed
Logbook to track phenotype performance
Seed vendor checklist to evaluate breeder transparency
Look for strains described as resistant to common pathogens (powdery mildew, botrytis, root rot). Resistant genetics lower the need for chemical controls and are the backbone of organic systems.
Confirm breeder notes about humidity tolerance and pest resilience; vague claims mean you need more scrutiny.
Use compact or medium-vigor genetics for small containers or limited-height environments. Over-vigorous plants in small pots create stress and nutrient imbalances.
For outdoor or large pots, prioritize vigorous hybrids that can utilize organic soil biology for bigger yields.
Check transparency: breeders who publish lineage, phenotype ranges, and growing notes are preferable.
Ask about germination guarantees and sample batch testing. A guarantee reduces financial risk and signals quality control — vendors like Theseedconnect offer fertilized seed lines with germination policies and grower support where relevant.
Cross-reference grower feedback in community forums, focusing on organic grows rather than hydro setups.
Practical examples
Example — Resinous sativa hybrid: chosen for large outdoor beds; vigorous root system and heat tolerance → high yield with compost teas.
Common pitfalls and tips
Test a small run (4–8 seeds) before full-scale purchasing to identify stable phenotypes.
Internal link opportunities: product pages for feminized seeds, germination guarantee, and organic growing guides. Choosing the right feminized organic seeds reduces surprises during the grow and makes sustainable cultivation repeatable and efficient. When growers match genetics to their system and vet breeders carefully, organic results improve quickly and predictably.
Germination and Seedling Stage (Step-by-step)
Successful germination and development to the third node establish the roadmap for a vigorous, productive plant. Start with warm, stable conditions and high-quality seeds; gentle handling and precise moisture control carry a seed from radicle to healthy first true leaves and onto node three. For organic cannabis cultivation, this stage is where microbial life in the media and gentle nutrient introductions set long-term vigor. Using feminized organic seeds with a germination guarantee reduces variability and lets growers focus on environmental control rather than seed uncertainty.
Prerequisites (tools, materials, and timing)
Medium: small peat/coco pellets or sterile organic starter mix
Containers: 2–3 cm plug trays, then 50–100 ml starter pots
Environment: humidity dome, small fan, thermostat, hygrometer, gentle LED or fluorescent light
Supplies: spray bottle, pH meter, distilled water, light timer
Time estimate: allocate 7–21 days to reach the third node depending on strain.
Step-by-step: Germination → 3rd node
– Moisten medium to 70–75% of field capacity; temperature 20–24°C (68–75°F). – Expected outcome: medium holds shape but releases water when squeezed. – Troubleshoot: if medium is dry, seeds can desiccate; if too wet, seeds risk rot.
– Place seed in a moist plug or between damp paper towels in the dark at 22–24°C. Check twice daily. – Expected outcome: white radicle emerges within 24–72 hours. – Tip: avoid handling radicle; transfer by lifting the seed shell only.
– Insert radicle down ~5 mm into medium, cover lightly, dome on, humidity 70–80%, temperature 22–24°C. Light at low intensity once cotyledons open. – Expected outcome: cotyledons unfurl within 24–48 hours.
– Once true leaves appear, introduce a weak organic starter solution at EC 0.2–0.4 or 1/4 strength nutrient; reduce dome humidity to 60–65%. Provide 18/6 light at low PPFD (~100 µmol/m²/s). – Troubleshoot: yellowing cotyledons often means overwatering or nutrient burn—flush and reduce feed.
– Transplant to larger starter pot if roots show; maintain 20–24°C, humidity 50–60%, gentle airflow to encourage stem thickening. Adjust feed to 1/2 strength when the third node emerges. – Expected outcome: robust stem, 3+ nodes, ready for veg training or transplant. Practical examples: many growers moving to organic inputs swap to compost tea at the first true-leaf stage for microbial boost; others prefer a measured organic liquid kelp at 1/4 strength for root stimulation. Common mistakes include keeping humidity too high beyond cotyledon stage and overfeeding early—both slow node development. Understanding this window lets teams minimize early losses and build vigorous plants that respond predictably to training and nutrient plans. When controlled precisely, the germination-to-third-node phase turns genetic potential into repeatable performance.
Vegetative Stage: Feeding, Training, and Organic Inputs
Begin by treating the vegetative stage as the structural phase: build a robust canopy, feed soil biology, and phase in training so light reaches every bud site. Prioritize slow-release organic nutrition and progressive training—this reduces stress, preserves terpene profiles, and aligns with sustainable growing goals using feminized organic seeds. Prerequisites and tools (10–15 minutes prep) Seeds/starting stock: feminized organic seeds* or verified seedlings.
Tools: pruning shears, soft plant ties, trellis/netting, pH meter, moisture probe.
Inputs: compost, worm castings, kelp meal, bone meal, mycorrhizal inoculant, liquid compost tea setup.
Time estimate: 3–8 weeks active vegetative period, depending on strain and target canopy size.
Step-by-step: Vegetative care and shaping the canopy
Establish baseline feed: apply a layer of compost and 1–2 cups of worm castings at transplant; top-dress with 5–10 g/L slow-release organic granular fertilizer as a one-time boost.
Progressive training schedule:
1. Week 1–2: apply gentle topping or FIM once plants have 4–6 nodes. 2. Week 2–4: implement low-stress training (LST) daily to fan out branches. 3. Week 4+: install trellis and begin selective defoliation; remove shaded interior leaves to improve airflow and light penetration.
Maintain balanced irrigation and pH: water when top 1–2 in of soil is dry; aim for pH 6.0–6.8 in soil, slightly lower in soilless mixes.
Organic inputs and timing
Bone and rock phosphate: slow-release P for root development—one application at transplant.
Mycorrhizae: apply at transplant and when repotting to expand root access.
Troubleshooting quick wins
Stretching: increase light intensity or shorten photoperiod to 18/6 with higher PPFD.
Nutrient lock: flush with clean water and reapply compost tea to restore biology.
Example nutrient schedule (starter) `text Week 0: Transplant + compost + mycorrhizae Week 1: Kelp foliar + light compost tea Week 2–3: LST + fish hydrolysate every 10 days Week 4: Topping/FIM if needed + trellis install Understanding these practical steps lets growers shape a productive canopy while relying on organic inputs that support soil life and long-term plant health. When combined with high-quality feminized organic seeds, this approach reduces dependency on synthetics and produces reliably vigorous vegetative growth.
Flowering Stage: Organic Bloom Support and Pest Management
Shift the plant's priorities: move from vegetative vigour to energy allocation for bud formation, resin production and terpene preservation. Transition to slow‑release organic bloom inputs, tighten environmental parameters, and implement a rigorous integrated pest management (IPM) scouting routine. These three actions—nutrition, environment, and low‑toxicity pest control—determine final yield quality more than raw light hours or late nutrient flushes.
From switch to harvest — numbered steps
Week 0–2 of flower: Shift to bloom organics. Apply a slow‑release calcium/phosphate friendly base and a bloom‑focused compost tea at half strength. Visual cue: pistils elongate and white hairs appear.
Week 3–5: Support resin and terpene pathways. Add kelp/seaweed foliar spray and microbial mycorrhizae to roots. Outcome: thicker calyx formation and aromatic development.
Week 6–8 (late bloom): Reduce nitrogen, sustain potassium and phosphorus. Switch to lower N organics and begin carbohydrate/flower finish formulas. Warning: excessive late nitrogen dulls terpene profile.
Final 7–10 days: Reduce watering frequency and avoid harsh flushing. Use a mild molasses rinse to preserve microbes; stop foliar feeds. Success sign: papery fan leaves and swollen trichomes.
Harvest timing: Monitor trichomes with 30–60x loupe. Aim for mostly cloudy with some amber depending on desired effect. Time estimate: checking every 2–3 days over a week.
Practical pest management and environment control
Low‑toxicity interventions: Use insecticidal soaps, Bacillus thuringiensis sprays for caterpillars, and predatory mites; avoid broad‑spectrum pesticides that harm beneficial microbes.
Environmental setpoints: Maintain RH 40–50% late bloom, temperatures 20–26°C (day), <6°C delta night; stable CO2 if supplemented.
text Simple organic bloom feed (example): Week 1–2: compost tea 0.5x, kelp 0.25g/L weekly Week 3–5: compost tea 1x, kelp 0.5g/L, mycorrhizae at transplant Week 6–end: molasses 5–10ml/L, low N bloom tea weekly Troubleshoot slow resin or pest flare-ups by checking RH spikes, flushing only if salts build up, and increasing predator mite releases. For growers starting from feminized organic seeds, this approach integrates clean genetics with sustainable growing practices to protect flavor and potency. When these practices are applied consistently, harvests reliably show stronger terpene expression and fewer late‑season surprises.
Harvesting, Drying, and Curing Organically
Harvest when trichome maturity matches your goal: use a 30–60x loupe to inspect trichomes, harvest when most are cloudy with a few ambers for balanced potency, or wait for more amber for sedative effects. Then move deliberately through a slow dry (7–14 days) to protect terpenes and chlorophyll breakdown, and finish with a careful jar cure where small jars, RH control, and regular burping prevent mold while improving flavor. This sequence — precise cut, gentle dry, measured cure — is where organic cannabis cultivation preserves both cannabinoid profile and terpene complexity.
Prerequisites (what to verify before harvest)
Final flush completed: Water-only flush 7–14 days before harvest if using soluble organic amendments.
Clean drying area: Low dust, stable RH/temp, and good airflow without direct wind on colas.
Tools and materials needed
Sharp pruning shears (sterilized).
Clothesline or drying racks with clips.
Hygrometer and small digital RH packs (Boveda-style or equivalent).
500–950 ml glass jars for small-batch curing.
Step-by-step: From cut to cured jar
Trim: Dry-trim for slower drying, or wet-trim if humidity is high—both work for organic grows depending on environment.
Hang to dry: Maintain 18-21°C and 45–55% RH; target 7–14 days until stems snap.
Check dryness: Bend a small stem — a clean snap means ready; if flexible, continue drying.
Jar cure: Place small nugs into glass jars filled to ~60–70% capacity to allow airflow pockets.
Monitor RH: Aim for 58-62% RH inside jars; use 62% packs for wetter buds, 58% for drier.
Burp schedule: First two weeks, open jars 2–3 times daily for 10–15 minutes; reduce to once every few days through week 6–8.
Practical examples and troubleshooting
If terpene loss is suspected (bland aroma), slow the dry further or reduce light/heat exposure during drying.
For small organic batches, using feminized organic seeds from reliable suppliers simplifies uniform harvest timing and quality control.
Following these methods preserves delicate terpene profiles and produces a stable, flavorful product that rewards patient, sustainable growing practices. When done correctly, the right harvest, dry, and cure sequence elevates both potency and palate.
Troubleshooting Common Issues
Plants show problems as symptoms tied to environment and nutrition; diagnosing by what the plant displays and by recent changes—watering, feed, humidity, light—lets you act quickly with organic-compliant treatments and stop small issues becoming crop-threatening. Below are practical diagnoses, immediate organic fixes you can implement in a single work session, and prevention strategies that reduce recurrence across cycles. How to approach a problem fast: 1) note the symptom and pattern, 2) check recent changes (nutrients, light, watering, new clones), 3) apply the immediate organic fix, then 4) schedule the preventive measure for the next 1–2 weeks. Common problems and fixes
Immediate organic remediation: Prefer physical removal, dilution/flush, or biocontrols before synthetic treatments.
Long-term prevention: Adjust feeding program, ventilation, and seed genetics to reduce susceptibility.
Practical steps you can take right away:
Use organic-approved treatments: potassium bicarbonate for mildew, neem oil or predatory mites for spider mites, and aerobic compost teas to rebalance microbiome.
Track changes with a simple log (date, action, environmental readings) so future diagnoses are evidence-based.
Quick reference comparing symptoms, likely causes, immediate organic fixes, and preventive measures for frequent issues
Likely Cause
Immediate Organic Fix
Preventive Action
Yellowing lower leaves
Nitrogen deficiency or overwatering
Flush with pH-balanced water; feed organic N (fish emulsion 1–2 tsp/gal)
Maintain consistent moist-dry cycle; side-dress with compost; balance N in veg
Slow growth in vegetative stage
Low light, cool temps, nutrient lockout
Increase PAR (raise lights or hours), raise temp to 22–26°C; foliar feed kelp tea
Upgrade lighting plan; ensure root-zone temps and quality feminized organic seeds for vigor
Powdery mildew on leaves
High humidity and poor airflow
Remove infected leaves; spray potassium bicarbonate or milk solution (1:9)
Improve ventilation, space plants, keep RH <50% during dark period
Bud rot in flower
Prolonged wetness/high RH inside dense colas
Remove infected buds immediately; increase airflow and lower RH to 40–45%
Groom inner canopy, flush drip lines, select airy genetics and avoid wetting flowers
Spider mite webbing
Hot, dry conditions and new infested material
Spray insecticidal soap/neem; release predatory mites (e.g., Phytoseiulus persimilis)
Regular scouting, maintain slightly higher humidity (45–55%), quarantine new plants
Tips for Success and Pro Tips
Start with soil health as the foundation: vigorous root systems cut failure rates and amplify terpene and cannabinoid expression. Focus on building resilient biology, predictable nutrient cycles, and simple monitoring routines to scale reliably from a closet grow to a 100-plant room. Prerequisites
Environment control: Stable temperature and humidity control within ±3°C and ±5% RH.
Quality genetics: Use known genetics—feminized organic seeds reduce variability for single-plant selection.
Tools and materials
Soil biology boosters: compost, worm castings, mycorrhizal inoculant.
Optional: inexpensive IR thermometer, hand refractometer for non-destructive checks.
Practical, low-cost methods to boost soil biology
Add worm castings at 5–10% by volume for soluble nutrients and microbial inoculants.
Use mycorrhizae at transplant to improve P uptake and drought resilience.
Make weekly compost tea (aerated): steep compost in water with a bubbler for 12–24 hours and dilute 1:10 for foliar or drench use.
Actionable tips that reduce failure risk
Gentle flushing: If EC exceeds target by 20%, flush with pH-balanced water to avoid lockout.
Environmental buffers: Add 1–2 fans per canopy for air movement; they reduce humidity pockets and strengthen stems.
Pest scouting: Inspect plants every 48 hours; early leaf-level infestations are easier and cheaper to fix.
Scaling tips for small commercial or serious hobby grows
Build a single recipe for veg and one for bloom—tweak by EC, not by product mix.
Batch-mix soil amendments to ensure uniform biology across dozens of pots.
Automate logging: link sensors to a simple spreadsheet or free IoT dashboard for trend alerts.
Practical examples and assets
Suggest building a grow-day checklist and a pH/EC trend table for handover during staff changes.
Understanding and applying these practices reduces unexpected loss and streamlines scaling, so effort spent on soil biology and routine measurement pays large dividends down the line. When done right, predictable grows let growers focus on refinement instead of firefighting.
Sustainability Considerations and Lifecycle Impact
Sustainable growing starts with measurable choices across the plant lifecycle: reduce inputs where waste is highest, reuse materials that retain function, and recycle or compost what’s left. For cannabis cultivation this translates into actionable steps—lower energy per gram, closed-loop nutrient systems, and materials selection that cut landfill waste. Many growers find the biggest wins come from energy optimization, substrate management, and seed selection, including choosing feminized organic seeds to avoid excess seedlings and lower replant frequency.
Measurable actions: reduce, reuse, recycle
Begin with interventions that produce clear metrics.
Reuse substrate: Sterilize and amend soilless mixes for 1–2 additional cycles instead of full disposal.
Recycle organic waste: Compost trimmed biomass into soil amendments or bokashi systems.
Implement one change (e.g., LEDs) and track the same metrics for the next cycle.
Compare results and iterate.
Expected time: 2–3 harvest cycles to see stable trends. Visual cue of success: consistent drop in kWh/kg and lower waste weight on the scale.
Balancing upfront organic costs with long-term gains
Organic inputs and quality seeds often cost more initially but reduce downstream expense and risk.
Soil and amendments: Premium composts and microbial inoculants raise upfront cost but improve plant resilience, reducing pesticide needs.
Energy investments: Efficient HVAC and LEDs require capital but lower operating costs over multiple years.
Practical ROI check: calculate payback by dividing incremental upfront cost by monthly energy/waste savings; typical payback windows range from 6–24 months depending on scale.
Tracking and tools
Implement simple dashboards and routine checks.
Tools: spreadsheets or grow-management apps; ppm` and pH logs for nutrient control
Audit cadence: quarterly operational audits, harvest-level post-mortems
Troubleshooting: if reuse increases disease incidence, stop reuse and run a pathogen test; if energy savings plateau, audit insulation and air handling. Design a checklist and a simple comparison table showing before/after metrics to make decisions transparent and repeatable. When implemented correctly, these practices reduce operating costs and environmental impact while improving crop predictability. This approach frees growers to focus on cultivar quality and stable yields.
Conclusion
Healthy seedlings and predictable harvests come from consistent attention to the small things: soil structure, gentle watering, and choosing the right genetics. When compacted soil and overwatering were corrected in the troubleshooting examples earlier, seedlings recovered within a week and produced fuller vegetative growth; when a backyard grower switched to carefully selected feminized organic seeds, flowering uniformity and cannabinoid consistency improved noticeably. Those concrete outcomes show that practical fixes—paired with quality seed stock—turn frustrating losses into reliable results for organic cannabis cultivation.
Move forward with three specific actions: test and loosen your medium, dial back watering to let roots breathe, and source proven feminized organic seeds for predictable genetics. If pest or nutrient issues reappear, revisit the seedling and vegetative checklists in this article and apply the organic inputs outlined in the feeding and pest-management sections. For growers who want professional-grade starting material, consider options like The Seed Connect’s feminized organic seeds as part of your next cycle. Taking these steps will simplify the next grow and make sustainable growing practices routine rather than aspirational.