
Not every first attempt fails because of you or the seeds—most often it’s because the germination method you picked doesn’t match the conditions you can realistically maintain.
This guide walks you through four natural, low-impact germination workflows. You’ll choose the one that fits your setup and monitoring habits, learn early signals for viable vs. compromised seeds, and use simple natural fixes when problems show up—so you can protect seed health and improve your odds without overcomplicating the process.
Quick Answer:
Quick Answer
For your next organic germination attempt, follow this short sequence:
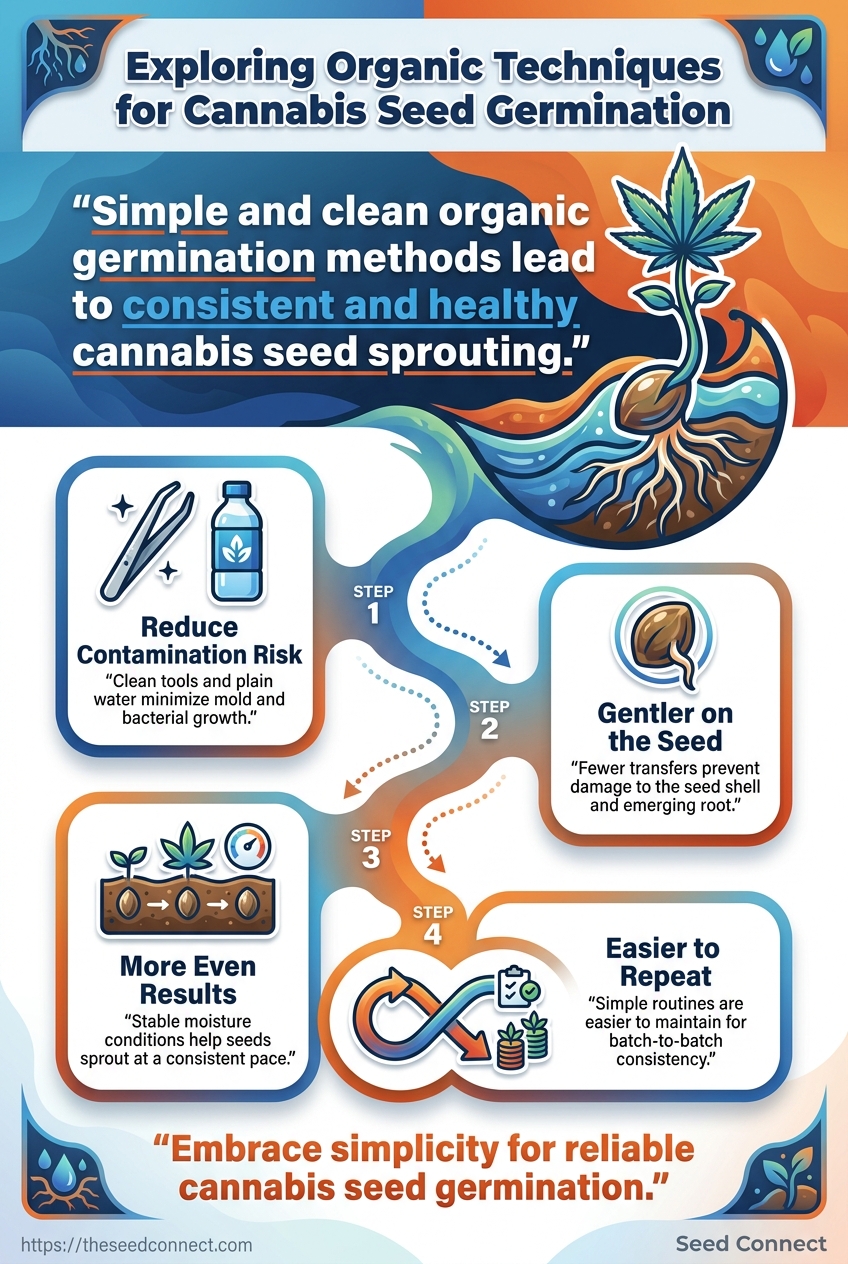
- Set stable eco-friendly conditions (water cleanliness, steady warmth, moisture you can maintain, and airflow). See Before we start.
- Do the go/no-go viability gate to avoid wasting time on seeds with clear deep damage or contamination. See Before you commit more time.
- Pick one workflow for this batch (paper towel, pre-soak, direct-to-medium, or starter plugs) and follow the step-by-step method. (Methods comparison: Before we start.)
- Monitor using check windows rather than constantly disturbing the setup. See Use check windows.
- If you hit a problem, use the symptom-to-fix guide, then apply the one-change test if results stay inconsistent. See Common germination problems and one-change test.
Table of Contents
- What if the best way to germinate cannabis seeds is also the simplest and cleanest?
- Before we start: setting up an eco-friendly germination space
- Step-by-step: organic cannabis seed germination methods that actually work
- How to tell if your seeds are healthy enough for germination
- Common germination problems and how we fix them naturally
- Building a repeatable organic germination routine
Use check windows to avoid unnecessary changes
After you set up your germination area (you’ll get the eco-friendly setup checklist next), use “check windows” so you can observe progress without constantly disturbing moisture and temperature. Aim for a consistent cadence (for many home setups, every 8–12 hours is enough—adjust based on how quickly your medium changes).
During each check window, look for these signals and respond accordingly:
- Moisture behavior: confirm your medium stays within the setup target (evenly damp, not pooled). If it’s trending too dry, add only a small amount of moisture to bring it back into that target—don’t flood. If it’s staying overly wet, improve airflow and reduce excess liquid.
- Seed/taproot progress: note cracking and taproot emergence, and watch for curling or a clear stall compared to your expected timeframe. If progress appears stalled, pause extra tweaks and verify moisture and warmth are still in range.
- Contamination red flags: if you notice clear contamination (e.g., visible mold or a persistent off-odor), treat it as a stop signal and follow the symptom-matched mold guidance in Common germination problems and how we fix them naturally (remove compromised material, restart clean, and improve airflow).
If you don’t see a clear improvement pattern across observation points, move from random changes to the symptom-matched troubleshooting guidance later in this guide.
Before we start: setting up an eco-friendly germination space
Set up your germination area so the conditions stay stable long enough for seeds to do their work—then your later troubleshooting becomes easier to diagnose.
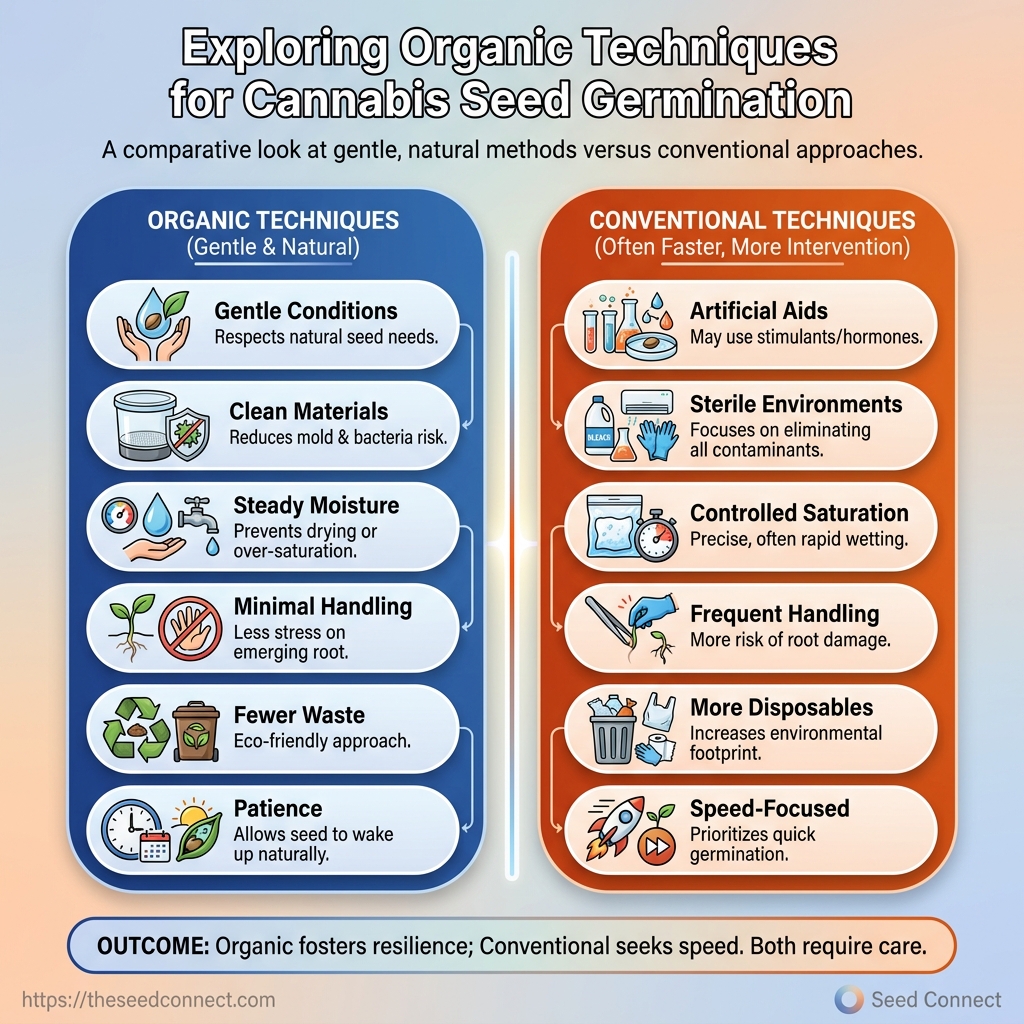
Eco-friendly, in practice means a clean setup and minimal extras: clean water, clean containers, moisture you can maintain evenly (without puddling), and airflow to prevent stagnant wetness.
What to prepare (quick checklist):
- Water: clean, unscented, and room-temperature. If you notice strong chlorine odor, let water sit briefly or switch to a more appropriate alternative.
- Temperature: aim for warmth that stays steady—about
20–24°Cfor most home setups. - Light: keep the seed itself out of bright exposure; germination generally doesn’t require strong light.
- Containment: use a tray/container that won’t trap excess wetness. Plan for easy cleanup between attempts.
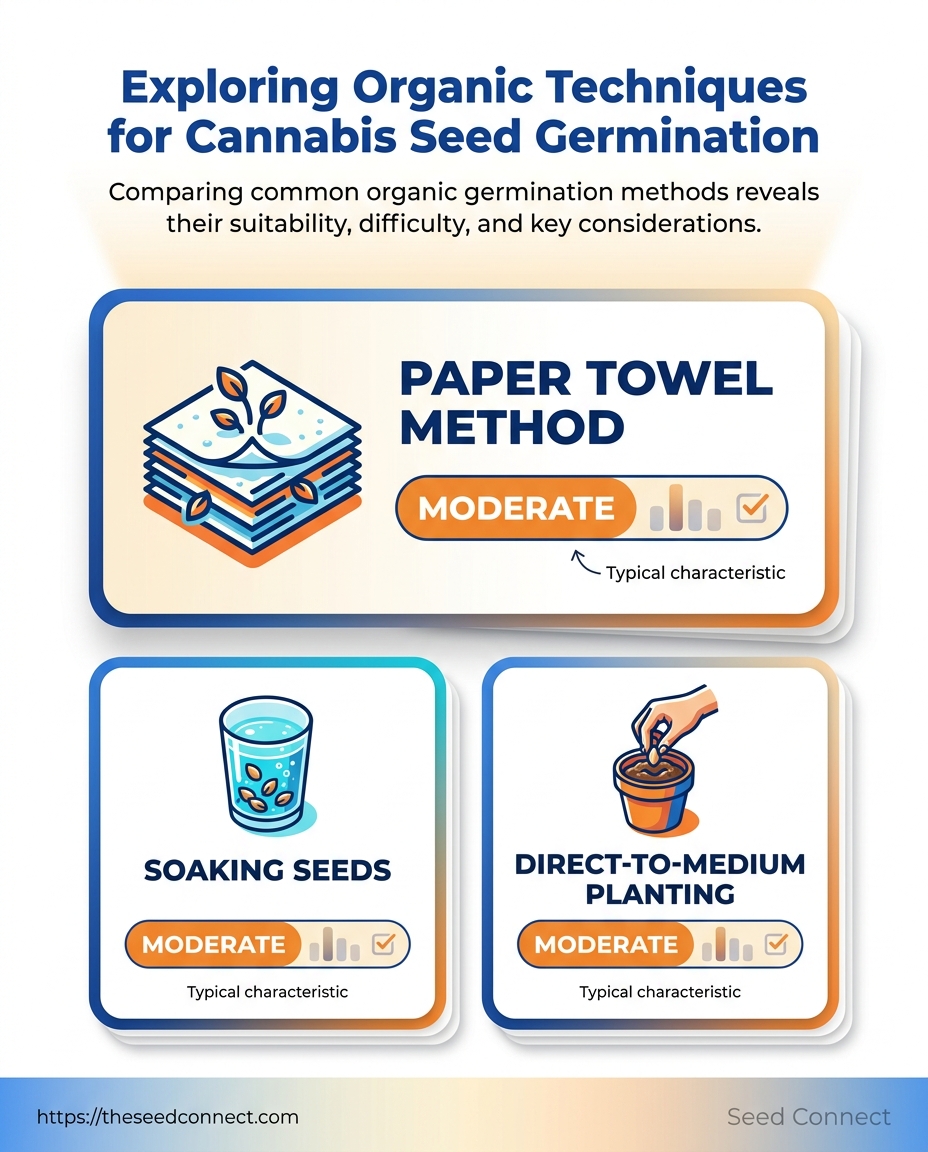
Comparing common organic germination methods
Pick the method that matches your monitoring style
| Method | Best for | Difficulty | Moisture control | Pros | Watch-outs |
|---|---|---|---|---|---|
| Paper towel method | Growers who want a close look at progress | Easy | High, but easy to overdo | Simple, cheap, and easy to monitor | Can dry out fast or stay too wet |
| Soaking seeds | Hard-coated seeds or older seed stock | Easy | Low to moderate | Encourages early hydration | Leaving seeds in water too long can stress them |
| Direct-to-medium planting | Growers who want less handling | Moderate | Moderate to high | Fewer transfers, less root disturbance | Earlier visibility is limited |
| Starter plugs or natural fibers | Eco-friendly grows and cleaner transplanting | Moderate | Good balance | Reusable or biodegradable options; steadier moisture | Some plugs hold too much water if packed too tightly |
One practical tip before you start: aim for damp—not saturated. The “right” feel is usually when the surface is evenly wet but the setup isn’t dripping or pooling water.
Next, you’ll choose one of the four methods and follow a simple step-by-step workflow through taproot emergence.
Before you commit more time: do a quick 10-second viability gate. For setup/monitoring context, use your chosen method’s conditions from Before we start and observe progress via check windows.
- Go (continue) if the seed looks intact and you don’t see clear contamination or obvious deep damage.
- No-go (replace) if the seed is visibly crushed/split deep, is soft/weak, or shows clear contamination signals.
- If you’re unsure, keep your conditions steady long enough to let the environment stabilize—then reassess before adding extra checks or making changes.
How to tell if your seeds are healthy enough for germination
Use this section to interpret what you’re seeing on a “maybe” seed. The go/no-go decision rules are covered in the viability gate; here, focus on what the appearance and cues usually mean.
What “healthy enough” usually looks like (evidence cues)
- Shell integrity: look for a firm, intact seed. Seeds that compress too easily or feel unusually fragile tend to perform less reliably.
- Contamination cues: fuzzy growth, persistent musty/sour odor, or visible mold are clear stop signals.
- Color variation (with caution): mild mottling or darker tones can be normal. Very pale/washed-out seeds may still sprout, but they’re more likely to struggle.
- Shape and fullness: plumper seeds often have better internal reserves than shriveled, hollow-looking ones.
Age and storage: why appearance isn’t everything
Seeds can look acceptable yet underperform if storage conditions were poor. Seeds kept cool, dark, and dry generally maintain viability better than seeds exposed to heat or dampness.
How to interpret “uncertain” cases
If you don’t see clear contamination or obvious damage, treat the seed as viable enough to try—using the method you selected and monitoring cadence you set up earlier. If results stay unclear even after giving the setup time to stabilize, use the symptom-matched troubleshooting section to decide your next move.
Bottom line: stronger viability cues usually mean fewer surprises and smoother germination cycles.
Common germination problems and how we fix them naturally
Use this section as your symptom-to-fix reference. When you notice an issue, match it to the closest symptom below, make one targeted correction using natural inputs, then watch the next visible change using your check windows.
1) Seed not cracking (no visible split)
- Likely cause: conditions too cool, hydration lagging, or the medium drying out too fast.
- Natural fix: warm the setup toward your target range, then confirm the medium is staying in the desired moisture zone (see Before we start). If you’re direct-to-medium and the surface dries quickly, prioritize restoring stable surface moisture rather than soaking deeper.
- Prevention tip: start with room-temperature clean water and a temperature you can actually maintain so hydration can continue uninterrupted.
2) Mold on medium (fuzzy growth or persistent bad odor)
- Likely cause: excess moisture, stagnant airflow, or contaminated materials.
- Natural fix: stop the current batch in the affected area. Remove the compromised medium/material and restart with clean containers and fresh medium. Improve airflow and keep moisture within the target range going forward (again, defined in Before we start).
- Prevention tip: aim for stability, not prolonged wet saturation.
3) Taproot curling or growing “wrong”
- Likely cause: placement/handling depth, medium texture holding water unevenly, or resistance where the root is trying to grow.
- Natural fix: ensure the seed is positioned correctly for your chosen method and that your medium stays within the supportive moisture zone (see Before we start). If you’re using a dense medium, switch to a lighter, more forgiving texture next time.
- Prevention tip: minimize unnecessary handling and keep moisture consistent so the root isn’t repeatedly forced between extremes.
4) Seedling drying out (stall + shriveled look)
- Likely cause: surface drying too quickly or airflow that removes moisture faster than you can naturally maintain.
- Natural fix: lightly refresh moisture to bring the setup back to the desired moisture zone. Reduce direct exposure to drying airflow where possible and use containment that helps maintain humidity without trapping excess wetness.
- Prevention tip: use a cadence for check windows so you correct early—before visible damage appears.
Still inconsistent? If the same method and conditions keep producing mixed outcomes, use the one-change test to isolate which factor is actually driving the results.
Building a repeatable organic germination routine
This section helps you turn germination into a process you can improve run after run. You’ll record what you did and what you observed—then use your notes to make smarter changes next time.
1) Use a log that answers three questions
What was the method + medium? (direct-to-medium, paper towel, pre-soak, plugs; and the medium family.)
What conditions did the seed actually experience? (water cleanliness, warmth range, moisture feel, and whether airflow was present.)
What happened by the next check window? (crack/taproot/no change + notable signals like musty smell, surface crusting, or visible contamination.)
2) Record in a way that’s easy to compare
You don’t need long notes—just consistent fields:
Date started: helps you compare speed across batches.
Seed type: feminized, autoflower, etc. (so timing expectations stay realistic).
Method used: direct-to-medium / paper towel / pre-soak / plugs.
Medium used: name + medium family.
Moisture feel: your description (barely damp / evenly moist / too wet).
Time to visible change: your most useful future reference.
Any unusual signals: musty smell, mold, persistent wet surfaces, seed damage, unexpected delays.
3) Turn results into clear next-step decisions
When you spot a pattern, use your log to identify the most likely difference between runs. Then make a targeted adjustment and confirm it by the next check window.
4) Match seed choice to your goal
Finally, set your germination success definition based on your grow plan:
Priority: speed and fewer variables later → autoflower-friendly timelines.
Priority: control over later steps → feminized genetics that fit your training/timing.
Log consistently, review patterns, and make your next attempt based on evidence—not guesswork.
One-change test (when results vary): change only one variable next—keep everything else steady.
- Pick one variable to change: warmth range, moisture behavior, airflow/sanitation, or placement/handling depth & orientation.
- Keep the rest the same: same germination method, same medium family, same monitoring window, and the same overall moisture target.
- Check on the next window: record crack / taproot / no change plus any signals (musty smell, surface crusting, visible contamination, or seed damage).
Only repeat with the next likely variable after you have clear evidence from the last change.
Organic germination at a glance: use the jump links below to get back to the right part of the process based on what you’re seeing right now.
- Before we start: setting up an eco-friendly germination space
- Step-by-step methods (choose one workflow for this cycle)
- Viability scan (seed cues)
- Troubleshooting by symptoms (natural fixes)
- Repeatable routine + results log
If you’re unsure what stage you’re in, return to Quick Answer for the full ‘what to do next’ sequence.