

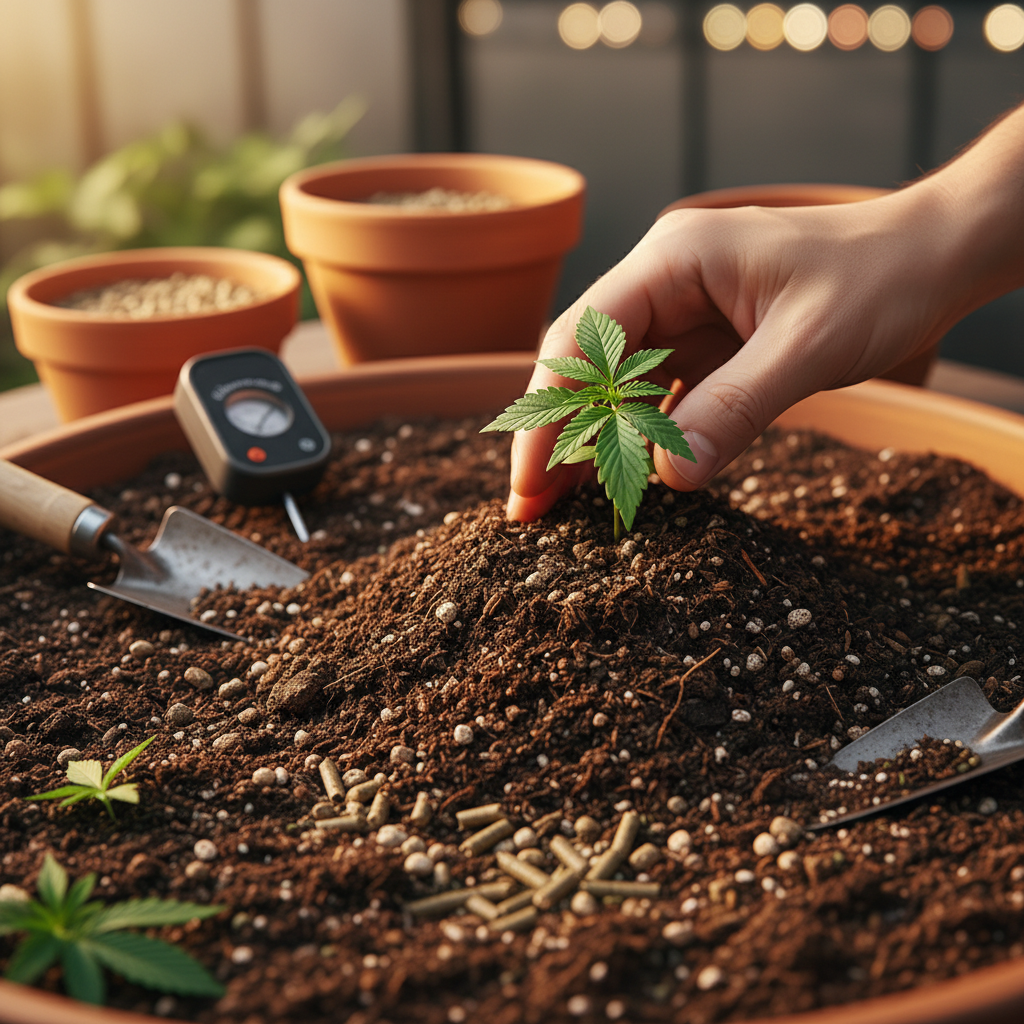
Learning how to optimize your cannabis cultivation can make a major difference in root development, nutrient availability, drainage, and overall plant growth. Good cannabis soil should provide the right balance of aeration, moisture retention, organic matter, and nutrients without becoming compacted or waterlogged.
According to the USDA Natural Resources Conservation Service, healthy soil depends on factors such as good structure, organic matter, water movement, and biological activity. For cannabis growers, understanding these basic soil principles can help create a more stable growing environment. In this guide, The Seed Connect explains the key soil characteristics to monitor and practical ways to improve them.
Quick Answer:
Soil quality is critical for successful cannabis cultivation.
It directly influences seed germination, root development, and overall plant health.
For healthy seedlings, aim for a pH between 6.0 and 7.0, and choose a mix that balances moisture and air without overdoing the nutrients.
This balance helps establish strong root systems essential for growth and better yields.
Why Soil Quality Matters for Cannabis Cultivation
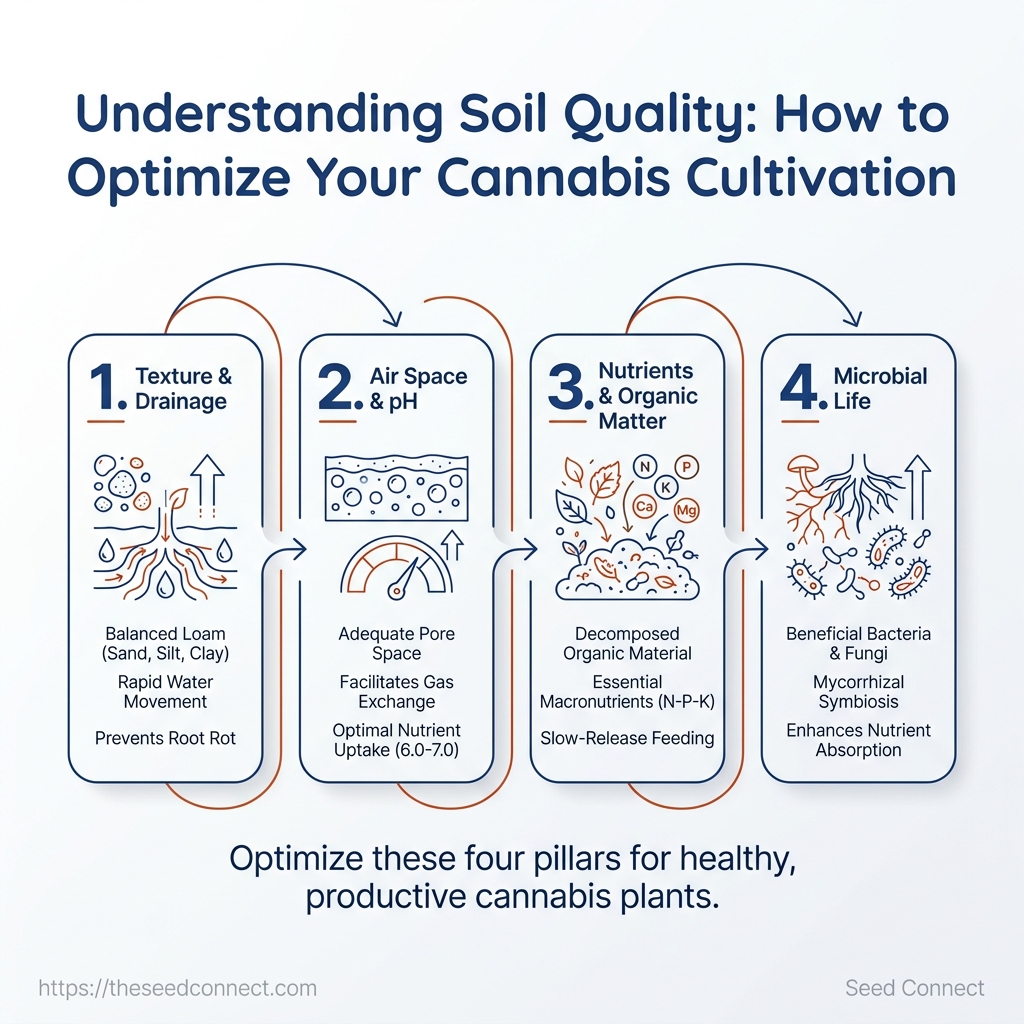
Good cannabis soil serves as the foundation for optimal growth—helping roots access nutrients, water, and air.
Here’s how soil quality shapes the growth trajectory of your plants:
Healthy soil needs a careful balance of moisture and air.
This prevents over-saturation, which can cause root problems.
Well-structured soil supports seed germination and allows roots to spread without resistance.
This core principle is crucial for establishing a root system early on.
In practice, avoid soils that look too rich or compacted.
A quality mix often includes loamy textures that offer a careful balance of drainage and moisture retention.
Compacted soils, on the other hand, may suffocate roots.
The visible signs of poor soil health—such as slow growth and pale leaves—often indicate underlying issues such as poor drainage or nutrient deficiencies.
Therefore, being vigilant about soil conditions paves the way for successful cultivation.
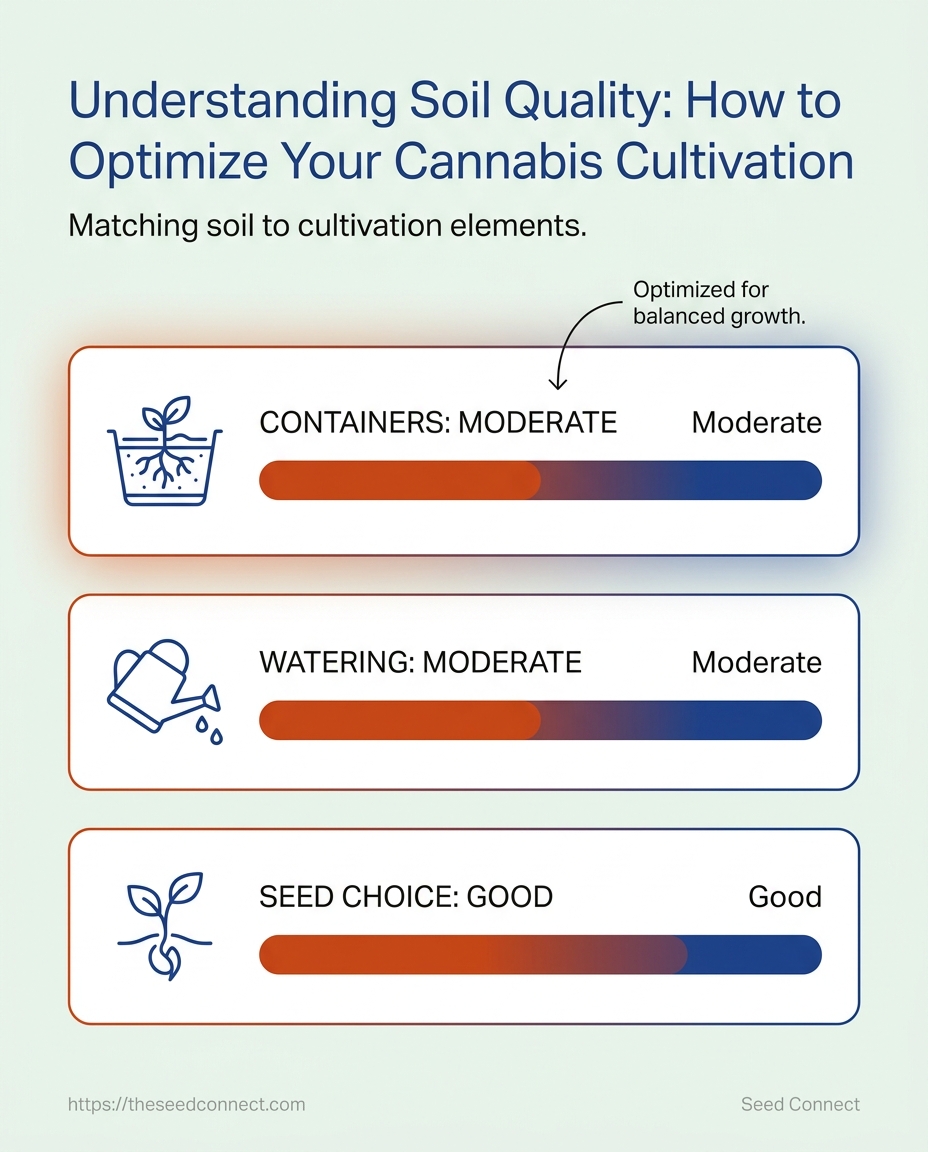
Choose Cannabis Soil by Reading Its Physical Properties
Does a dark, heavily amended bag always make the best cannabis soil? Not necessarily.
A mix that looks rich might contain too much fine material, hold too much water, or harm young roots before the plant can use nutrients.
For growing cannabis in soil, physical structure often matters more than color.
Crumbly soil with open spaces lets roots move through the container while balancing moisture and oxygen.
Loamy soil is widely favored because its sand, silt, clay, and organic matter provide a useful middle ground between drainage and water retention, as explained in this guide to the best soil types for cannabis.
Texture tells you how the mix will behave after watering.
Sandy material drains quickly but can dry fast.
Clay-heavy soil holds water longer and may become compacted.
Organic matter improves structure, but too much compost or fine peat can still leave the root zone dense.
Before planting, squeeze a small handful of moistened soil.
It should hold together briefly, then break apart with a light touch.
If it forms a sticky lump, feels muddy, or releases standing water, the mix may need more aeration material.
Compare Drainage and Water Retention
Table: Choose Cannabis Soil by Reading Its Physical Properties — Material or texture, Drainage, Moisture retention & more
| Material or texture | Drainage | Moisture retention | Aeration | Best use in cannabis soil |
|---|---|---|---|---|
| Sandy soil | Very fast | Low | High | Useful as a small component when a dense mix needs faster drainage |
| Clay-heavy soil | Slow | High | Low when compacted | Usually needs coarse amendments before container use |
| Loamy soil | Moderate and even | Moderate | Moderate to high | Strong base for cannabis soil when it remains loose and well graded |
| Perlite | Very fast | Very low | Very high | Opens compact mixes and reduces stagnant wet spots |
| Coco coir | Moderate to fast | Moderate to high | High when buffered and loose | Adds moisture control without making the mix heavy |
| Compost | Variable | Moderate to high | Low when overused | Adds organic matter in measured amounts, rather than forming the whole mix |
The goal is not maximum drainage or maximum moisture.
It is a usable middle range that keeps roots supplied without leaving the container saturated for long periods.
A practical bagged-soil check starts with the label.
Look for ingredients such as aged compost, coco coir, peat, bark, or perlite, then avoid mixes that feel powdery or contain large amounts of undecomposed wood.
Check the moisture level, too: a sealed bag that smells sour or feels waterlogged may have poor air exchange before planting even begins.
Finally, fill a small pot and water it slowly.
Water should spread through the mix and exit from the drainage holes without pooling on top.
If the surface repels water, collapses into sludge, or dries into hard cracks, choose a different mix or adjust its texture first.
Good soil quality begins with how the mix feels and drains—not how dark it looks.
A balanced physical structure gives cannabis roots a steadier place to establish and grow.
Test and Correct Soil pH Before It Creates Nutrient Problems
Have you added fertilizer, watched the leaves stay pale, and wondered why the plant still looks hungry? The problem may not be a lack of nutrients.
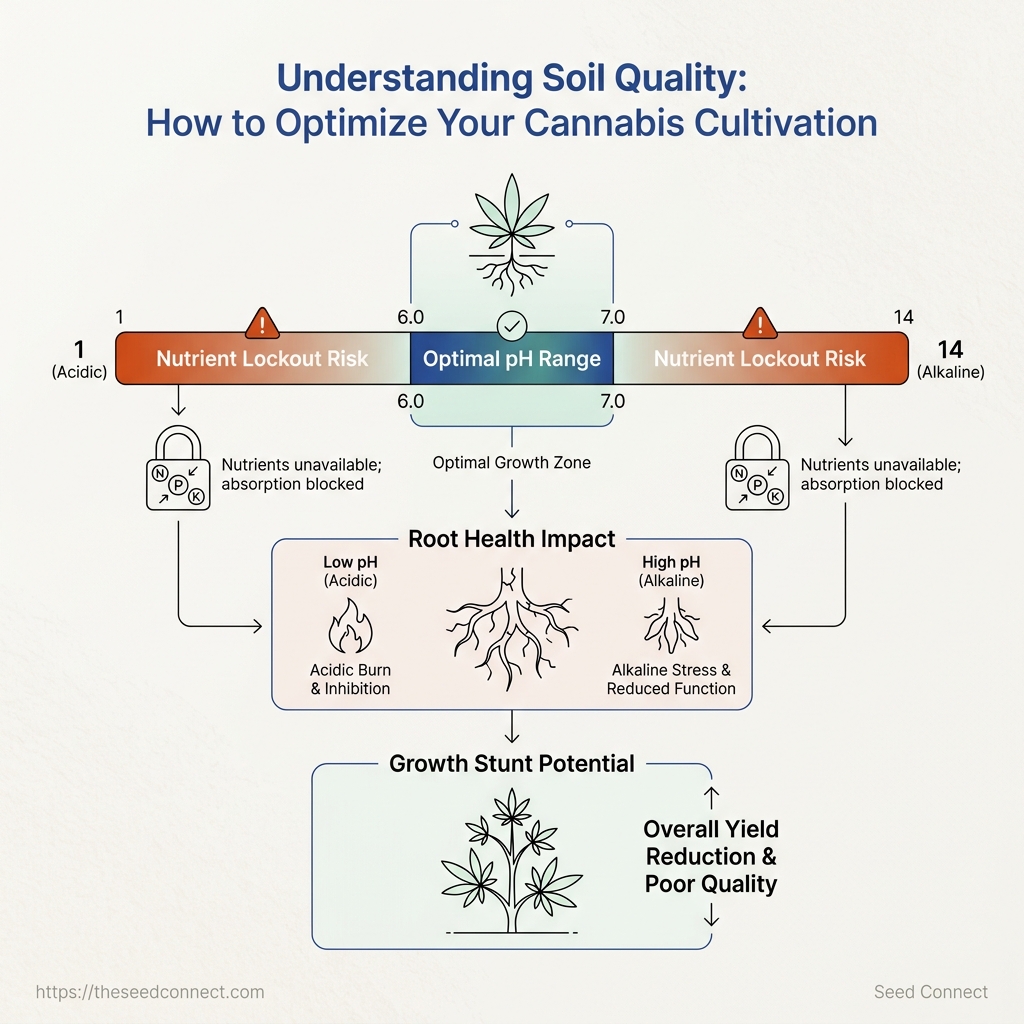
If the soil pH is off, roots can struggle to access nutrients already present in the pot.
For a 2026 grow, a practical soil pH target remains 6.0 to 7.0, with many growers aiming near the middle of that range.
This keeps several essential nutrients available at the same time, as described in this guidance on soil pH for cannabis cultivation.
A pH problem can look like a feeding problem.
Yellowing, slow growth, or unusual leaf color may tempt you to add more fertilizer, but extra nutrients can increase salt levels while the original issue remains.
Test the root zone, not just the runoff
Collect samples from several spots around the container, taking soil from the root zone rather than only from the surface.
Mix those samples together, then follow the instructions for your testing method.
- Prepare a sample: Combine small portions of soil with distilled water using the kit’s stated ratio.
- Use a home test kit: Add the soil mixture to the test chamber, apply the indicator, and compare the color with the supplied scale.
- Use a digital meter: Calibrate it with the correct buffer solutions, place the probe in the prepared slurry, and wait for a stable reading.
- Clean the probe: Rinse it with clean water after testing, then store it according to the manufacturer’s instructions. Never leave a meter coated in wet soil.
Test again when the reading seems surprising.
One sample can reflect a dry pocket, a recently fertilized area, or uneven watering rather than the whole container.
Correct pH in small steps
Do: Make one measured adjustment, water evenly, and retest after the amendment has had time to affect the soil.
Do not: Add lime, sulfur, or repeated nutrient doses based only on leaf symptoms.
Do: Check the label and use the product’s stated application rate.
Do not: Chase a perfect number with several corrections in the same watering.
If the pH is acceptable but symptoms continue, inspect watering, roots, pests, light, and temperature before feeding again.
Nutrient lockout often improves when the root-zone conditions are corrected, not when more fertilizer is piled on.
A simple pH check can prevent weeks of confusion.
Test first, adjust gently, and let the root zone respond before making another change.
Build a Soil Nutrition Plan Around the Plant’s Growth Stage
Could a heavily fertilized plant actually grow worse? Absolutely.
Excess salt can stress roots, hinder water uptake, and lead to leaf signs that resemble nutrient deficiency.
Healthy cannabis soil depends on balanced nutrition, not the highest feeding rate.
Nitrogen, phosphorus, and potassium form the main nutrient group.
Nitrogen supports leafy growth, phosphorus assists energy transfer and root development, while potassium helps regulate water movement and overall plant function.
Plants also need calcium, magnesium, and sulfur, plus smaller amounts of iron, manganese, zinc, copper, boron, and molybdenum.
A soil test can reveal whether a nutrient is truly missing.
For reference, a 2025 soil-testing guide listed approximately 194 mg/L as an ideal nitrogen level, but this figure may have changed since then., but feeding should still follow the product label and the plant’s response rather than one number alone.
The 2025 cannabis soil testing guidance from Alluvial Soil Lab provides useful context for interpreting nutrient results.
Match Feeding to Plant Development
Seedlings need gentle conditions, while mature flowering plants can handle a more active nutrition plan.
The table below avoids rigid feeding schedules because soil strength, container size, cultivar, and watering habits all change nutrient demand.
Nutrient priorities by growth stage
Table: Build a Soil Nutrition Plan Around the Plant’s Growth Stage — Growth stage, Primary soil priority, Nutrient emphasis & more
| Growth stage | Primary soil priority | Nutrient emphasis | Watering consideration | Common warning sign |
|---|---|---|---|---|
| Seedling | Mild, stable nutrition and protected roots | Very low feeding; avoid strong nitrogen or concentrated salts | Keep the root zone lightly and evenly moist without saturation | Burnt tips, stalled growth, or pale new leaves |
| Vegetative growth | Steady leaf and root production | Nitrogen becomes more important, with balanced calcium, magnesium, and potassium | Allow the upper layer to dry slightly before watering again | Pale lower leaves may indicate low nitrogen; dark, clawed leaves may indicate excess |
| Early flowering | Support the transition from stretch to flower formation | Maintain nitrogen at a moderate level while supporting phosphorus and potassium | Watch water use as plant size and transpiration increase | Sudden yellowing, weak stems, or curled leaf edges |
| Late flowering | Avoid excesses while preserving plant function | Reduce heavy nitrogen inputs; maintain balanced potassium and necessary secondary nutrients | Adjust volume to container dryness and plant demand, not a calendar | Premature fading, nutrient burn, or persistent wet soil |
Organic amendments work best when mixed before planting and given time to become available.
Compost adds organic matter and supports microbial activity, while slow-release amendments suit growers who prefer fewer feedings and can plan several weeks ahead.
Liquid nutrients offer more control when plants show a clear need or when a soil test identifies a shortage.
Do not stack compost, dry amendments, and liquid fertilizer without accounting for their combined strength.
A measured, stage-based plan protects soil quality and gives plants access to nutrients when they can use them.
Create a Living Soil Environment Without Making It Complicated
Why does one pot support vigorous roots while another looks almost identical but produces weak growth? The difference may be invisible.
A clean, uniform pot might not have the microbial activity needed for cannabis soil to act as a living root environment.
Beneficial bacteria and fungi break down organic matter into smaller compounds that roots can access.
Some fungi also form close associations with roots, helping plants reach nutrients and moisture beyond the immediate root surface.
This doesn’t replace good watering or feeding, but it can help make the soil ecosystem more stable.
A sterile-looking pot is not automatically a healthier one.
In fact, soil that contains no organic material or microbial life may offer fewer natural processes to support root development.
Guidance on quality soil ingredients for cannabis includes compost, humus, and other organic materials because they contribute structure and biological activity.
Feed the soil community gradually
Compost acts as both a food source and a habitat.
As it breaks down, it supports organisms that cycle nutrients and improve the soil’s ability to hold moisture without becoming stagnant.
Worm castings can serve a similar role in a mild, beginner-friendly mix.
Amendments become risky when growers add several products without knowing what the base soil already contains.
Extra meals, manure, minerals, or concentrated microbial products can create excess fertility, unpredictable reactions, or a root zone that changes faster than the plant can handle.
A simpler approach works well for most first-time soil growers:
- Start with finished compost: Choose mature compost with an earthy smell and no visible heat or fresh plant waste.
- Add organic matter modestly: Use worm castings or compost as a supporting ingredient, not the entire growing medium.
- Avoid amendment stacking: Add one change at a time so you can identify its effect.
- Moisten before planting: Pre-moisten the mix evenly, then allow excess water to drain.
- Watch the plant, not the calendar: New growth, leaf color, and watering behavior provide better feedback than rigid feeding schedules.
A simple soil-building checklist also protects young roots: use clean containers, avoid compacting the mix, keep the surface from staying saturated, and remove moldy or foul-smelling material.
These basics support the balanced moisture and air conditions that seedlings need, rather than relying on high fertility alone, as explained in cannabis soil quality guidance on seed development.
Healthy biology does not require a complicated recipe.
Start with mature organic matter, make small changes, and give the root zone time to develop.
Match Soil Quality to Containers, Watering, and Seed Choice
Why can two identical cannabis seeds perform so differently when they receive the same soil mix? Often, the difference starts below the surface.
The size of the container, its material, drainage, and watering habits create different root environments, even if the cannabis soil looks the same.
A small plastic pot may dry slowly in a cool room but become saturated after frequent watering.
A larger fabric container usually offers more root space and airflow, yet it can lose moisture faster around the outer edges.
Neither option works alone; each must match the soil structure and the grower’s routine.
Imagine two identical seeds planted in the same light, crumbly mix.
One grows in a compact container that stays wet for days.
The other grows in a roomier pot with strong drainage and measured watering.
The second plant may establish roots more evenly because its environment provides both moisture and air.
Match the container to the root environment
Container material changes how quickly moisture leaves the root zone.
Size affects how much wet soil surrounds developing roots, while shape can influence how evenly the mix dries.
- Small containers: Useful for early establishment, but they can dry quickly or restrict roots if plants remain there too long.
- Large containers: Hold more moisture and provide greater root space, though excess wet soil can challenge young seedlings.
- Fabric containers: Allow more air exchange at the sides and encourage faster drying.
- Plastic containers: Retain moisture longer and require closer attention to watering frequency.
Water slowly enough to moisten the root zone without creating a permanently saturated base.
Check the container’s weight, inspect the soil surface and upper layer, and wait until the mix has begun to dry before watering again.
Drainage holes must remain clear, and runoff should never leave the container standing in water.
Let genetics fit the growing conditions
Reliable seeds provide a more consistent starting point, but genetics cannot correct poor drainage or mismatched watering.
Choose seeds according to the available space, container size, expected plant behavior, and the amount of daily care the environment allows.
Our cannabis seeds include feminized, autoflower, and high-THC options, while expert grower support can help match a starting plan to the container and soil conditions.
A practical selection process asks:
- Assess the space: Determine the available height, width, light, and airflow.
- Check the container: Note its size, material, drainage, and drying speed.
- Review the soil: Confirm that the mix holds moisture without staying heavy.
- Match the seed type: Choose genetics that suit the space and your watering habits.
- Track the response: Adjust watering only after observing drying patterns and root development.
Healthy results come from alignment.
Seed genetics, soil quality, container design, and the growing environment must support one another from germination onward.
Diagnose Common Soil Quality Problems Before They Spread
Are yellow leaves always due to soil issues? No. Light stress, uneven watering, cold roots, and too much heat can cause similar symptoms.
Diagnose the growing environment before adding nutrients or changing the soil.
Start by checking the root zone and recent care history.
Is the pot still wet several days after watering? Does water run down the sides instead of soaking in? Have fertilizer applications been frequent?
These clues often reveal more than leaf color alone.
A simple soil test can confirm whether nutrient levels or pH are contributing to the problem.
The latest available guidance from soil testing recommendations for cannabis cultivation in 2025 treats laboratory results as a better basis for correction than guesswork.
Yellow leaves, curling leaves, and stalled growth: a do-versus-don’t diagnosis guide
Symptoms can have several causes, so treat the table as a first check rather than a final diagnosis.
Table: Diagnose Common Soil Quality Problems Before They Spread — Visible symptom, Possible soil-related cause, First check & more
| Visible symptom | Possible soil-related cause | First check | Safer first response |
|---|---|---|---|
| Yellow lower leaves | Aging leaves, restricted roots, or low available nitrogen | Check whether new growth remains healthy and inspect root-zone moisture | Avoid immediate heavy feeding; correct watering and review a soil test |
| Brown leaf tips | Salt buildup, dry roots, or light and heat stress | Look for white crust and check recent fertilizer use | Pause added fertilizer and test the root zone before making amendments |
| Wilting in wet soil | Compaction, poor drainage, or damaged roots | Press the pot side and inspect drainage and root odor | Improve airflow around the container; repot if the mix stays saturated |
| Slow growth | Dense soil, weak root activity, temperature stress, or insufficient light | Compare root-zone condition with light and temperature records | Correct the clearest environmental fault before adding nutrients |
| Curling or clawing leaves | Excess salts, overwatering, heat, or intense light | Check moisture depth, leaf position, and feeding history | Stop feeding temporarily and stabilize moisture and temperature |
| White crust on the soil surface | Evaporated fertilizer salts or mineral deposits from irrigation water | Scrape a small area and review watering and feeding records | Test the water and soil; flush only when salt buildup is supported |
A compacted mix feels heavy and resists a finger or moisture probe.
Water may pool at the surface, drain slowly, or bypass dry pockets along the pot wall.
Persistent dryness can also signal hydrophobic media, especially when water beads on top rather than spreading through the root zone.
Repeated fertilizer use creates another warning sign: pale crust, burned tips, and worsening symptoms despite additional feeding.
Since soil texture, moisture, and nutrient availability interact, guidance on balanced cannabis soil properties supports checking the medium itself rather than treating every symptom as deficiency.
Use a small amendment for a mild, confirmed problem.
Repot when compaction or damaged roots prevent normal drainage.
Flush only when salt accumulation is likely and the plant can tolerate the added root disturbance.
Replace the soil when it smells sour, remains saturated, contains pests, or has repeatedly failed after careful corrections.
Good soil diagnosis protects roots from unnecessary changes.
Check the environment first, then choose the smallest remedy that addresses the evidence.
Maintain Soil Quality Throughout the Growing Cycle
Can a healthy cannabis soil mix lose productivity halfway through growing? Yes, but usually not because it suddenly needs more fertilizer.
Repeated watering, root growth, salt buildup, and compacted surfaces can gradually change the root-zone conditions.
Healthy soil needs regular observation, not constant intervention.
A grower who changes several variables at once can create more problems than they solve.
Weekly checks create a steady record of gradual changes, making it easier to respond only when the evidence supports action.
Use a weekly soil quality check
Choose the same day each week and inspect the plant, container, and root zone together.
Check the top layer before watering, then observe how quickly water moves through the container.
A healthy mix should accept water without pooling for long periods or running straight down the sides.
Use a clean meter or laboratory test when checking pH.
Home readings can reveal trends, while a lab report offers a more complete picture of nutrient levels and salts.
The latest available cannabis soil testing guidance placed the commonly cited soil pH range at 6.0–7.0, which remains relevant today., while stressing that nutrient availability depends on more than pH alone, according to Alluvial Soil Lab’s 2025 soil-testing guidance.
Record these observations:
- Moisture: Note whether the pot feels unusually light, stays wet for too long, or dries unevenly.
- Drainage: Watch for slow runoff, standing water, or channels that let water bypass much of the soil.
- Plant color: Record gradual changes rather than reacting to one yellow leaf.
- Root-zone smell: Healthy soil usually smells earthy. Sour, rotten, or stagnant odors deserve closer inspection.
- Surface condition: Watch for crusting, algae, or a hard layer that may limit water movement.
Refresh soil between grows
After harvest, remove the main root ball and pick out large roots, fallen leaves, and compacted clumps.
If the previous crop showed serious root disease, reusing the mix may spread the problem; discard contaminated soil and clean the container instead.
For reusable soil, gently loosen the remaining mix, add fresh organic matter according to the product directions, and test before planting again.
Avoid adding amendments by guesswork.
A simple record can prevent repeated mistakes:
Date: Growth stage: Moisture and drainage: pH reading: Plant color: Root-zone smell: Action taken: Result noticed next week:This record turns growing cannabis in soil into a process we can improve from one cycle to the next.
Consistent notes, modest corrections, and careful soil renewal protect soil quality far better than constant adjustment.
What type of soil is best for growing cannabis?
Loamy soil is widely favored for cannabis cultivation due to its balanced combination of sand, silt, clay, and organic matter, which provides effective drainage and moisture retention.
Ideally, the soil should be crumbly with open spaces to allow roots to thrive and access air, water, and nutrients.
How does soil quality affect cannabis growth?
Soil quality is crucial for cannabis growth as it influences seed germination, root development, and overall plant health.
Poor soil can restrict root access to water, oxygen, and essential nutrients, leading to stunted growth or plant failure.
What nutrients are important for cannabis plants?
The primary nutrients essential for cannabis plants are nitrogen, phosphorus, and potassium, which support leafy growth, energy transfer, and water regulation, respectively.
Additionally, calcium, magnesium, and sulfur are needed, along with trace minerals like iron and zinc.
Can you make your own soil mix for cannabis?
Yes, you can create your own soil mix for cannabis cultivation.
A custom mix allows you to tailor the nutrient balance and physical properties, ensuring proper drainage and aeration while meeting the specific needs of your plants.
What pH level is ideal for cannabis soil?
The ideal pH level for cannabis soil is between 6.0 and 7.0.
This range ensures that essential nutrients are available to the plants and that they can efficiently absorb them through their roots.
Give Your Roots a Better Starting Point
The most important lesson is simple: soil quality sets the direction of the entire cannabis grow before visible growth gives you useful feedback.
A seedling planted in compacted, waterlogged, or overly rich soil may struggle beneath the surface long before its leaves reveal the problem.
Good cannabis soil should balance drainage, moisture retention, air space, nutrient availability, and a suitable pH.
This balance also changes as the plant grows.
A mix that supports early root growth may need different feeding and watering habits during vigorous vegetative growth or flowering.
Instead of treating soil as a one-time purchase, treat it as a living growing environment that requires observation and small corrections throughout the cycle.
The most useful action today is to inspect your current setup before planting: check the soil texture, confirm that excess water can escape, and test the pH rather than guessing.
Write down your starting readings and adjust one factor at a time, giving the plant enough time to show whether the change helped.
With that habit, growing cannabis in soil becomes far more predictable—and your roots get the conditions they need to turn healthy beginnings into steady, productive growth.