

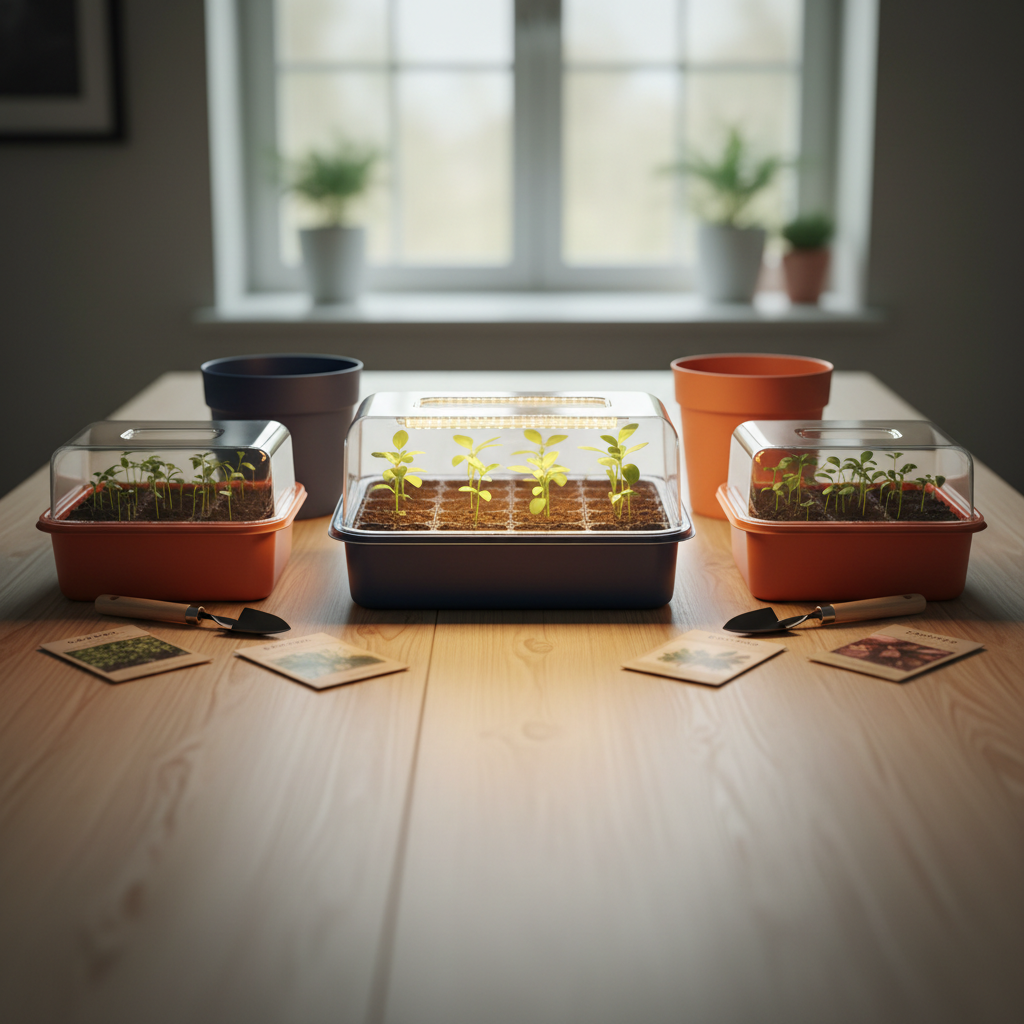
Cannabis Seed Germination Kits can make the early growing stage easier by helping maintain more consistent moisture, warmth, and airflow around developing seeds. While a kit cannot guarantee successful germination, it can reduce some of the environmental fluctuations and handling mistakes that often make seed starting less predictable.
According to Penn State Extension, successful seed germination depends on suitable temperature, moisture, air, and light conditions. In this guide, The Seed Connect explains how germination kits work, which features are actually useful, and how to use them without overcomplicating the process.
Table of Contents
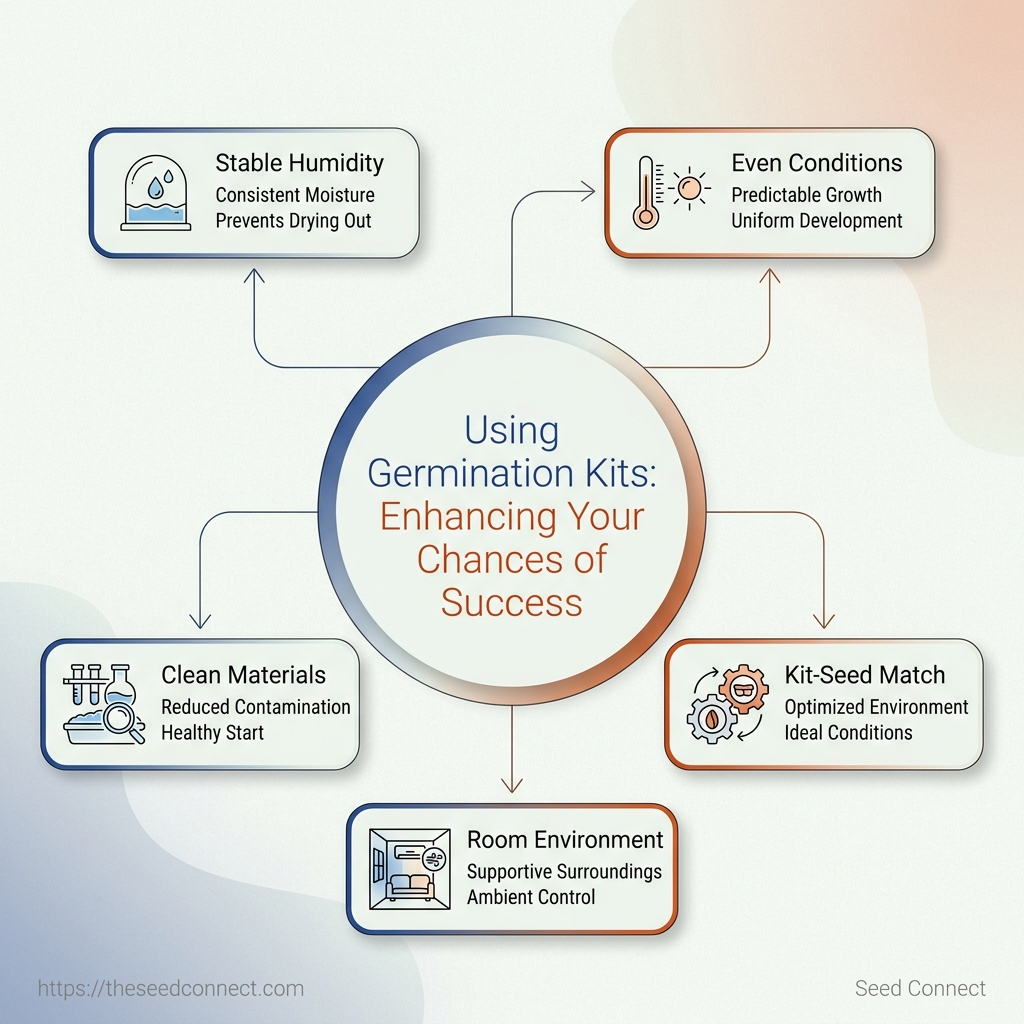
Quick Answer: Use a germination kit when you can keep handling to a minimum and the medium stays evenly ready (not drying out and not turning waterlogged). Before you open it, wipe and dry your workspace, set up the kit components in the final position, and have clean room-temperature water available. Then—once seeds are in—follow a simple check schedule (one look at ~24 hours, then ~48 hours) instead of repeatedly opening the tray.
What if the kit is only half the equation?
A germination kit can do a lot, but it cannot fix a messy setup or old seed stock.
The kit gives you the right moisture, warmth, and humidity balance, yet the seed still has to respond.
That is why people who focus only on buying germination kits often miss the bigger picture.
Success with kits usually comes from pairing decent genetics with clean handling, stable room conditions, and a simple routine.
The practical part starts before the package is even opened.
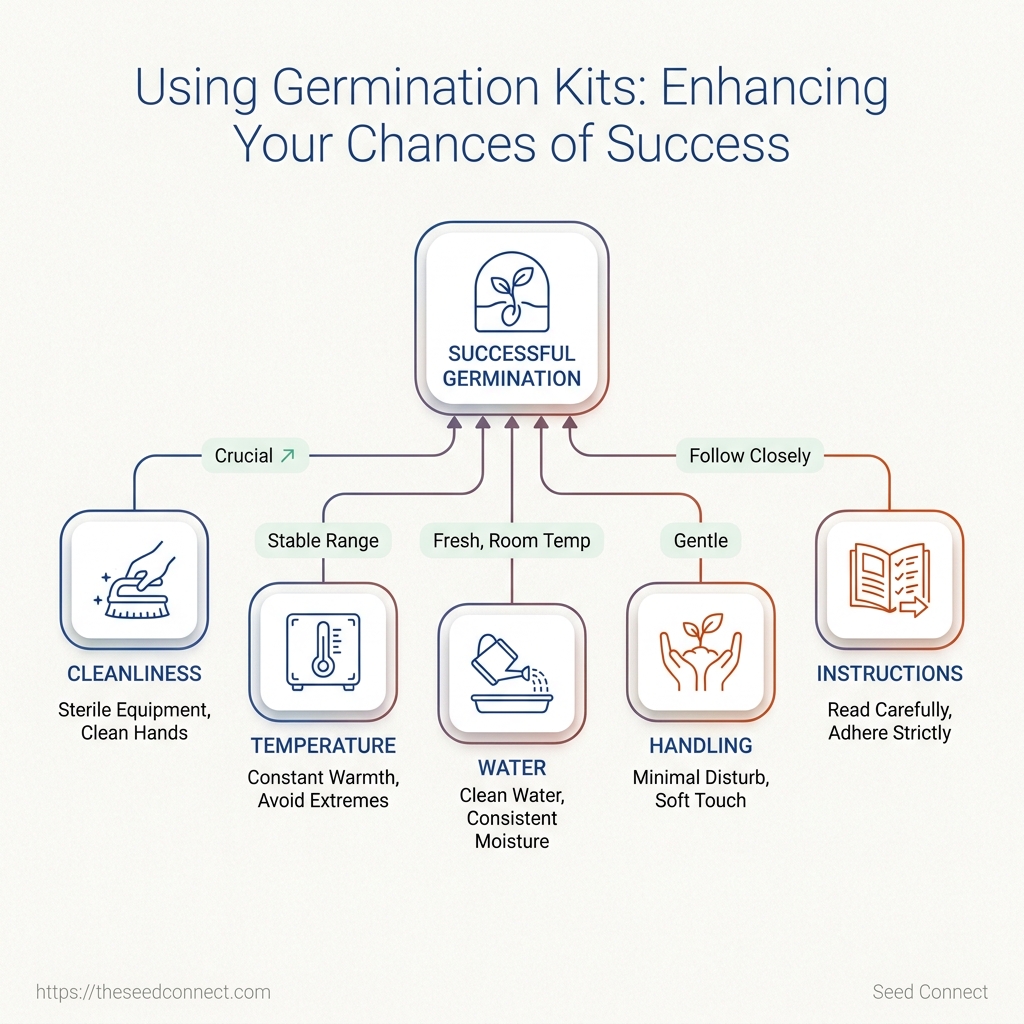
A few quick checks save time, reduce guesswork, and make the first 48 hours far more predictable.
What to check before you even open the package
| Check | Why it matters | Pass/Fail |
|---|---|---|
| Clean work area | Dirt, oils, and old plant material can invite mold or contamination. | Pass if the surface is wiped down and dry before setup. |
| Stable room temperature | Germination slows down when temperatures swing too much. | Pass if the room stays in a steady, seed-friendly range. |
| Fresh water ready | Water quality affects how evenly the medium hydrates. | Pass if you have clean, room-temperature water prepared. |
| Instructions reviewed | Different germination kits may use different timing or moisture levels. | Pass if you know the steps before opening anything. |
| Seeds inspected | Damaged shells or poor storage can affect sprouting odds. | Pass if the seeds look intact, dry, and properly stored. |
A quick check like this usually takes less than five minutes, but it changes the whole process.
It turns the kit from a box of supplies into a controlled starting point.
That matters because germination failures often come from avoidable mistakes, not bad luck.
If the room is too cold, the setup is dirty, or the seeds were handled roughly, the kit can only do so much.
For growers comparing germination kits, this is the part worth respecting.
The package helps, but the conditions around it decide whether the first stage feels easy or frustrating.
The biggest wins come before the seeds go in
The right germination kit should match your space, your batch size, and your routine.
A compact tray makes sense on a shelf or kitchen counter, while a larger setup fits a grow tent or dedicated bench much better.
Buying germination kits gets easier once the flashy extras stop mattering.
A stable dome, a clean starter medium, and clear instructions usually do more for success with kits than clever packaging ever will.
Room conditions matter too.
If your space runs cool, look for a kit that works with gentle heat support; if your home is already humid, airflow becomes more important than a tightly sealed chamber.
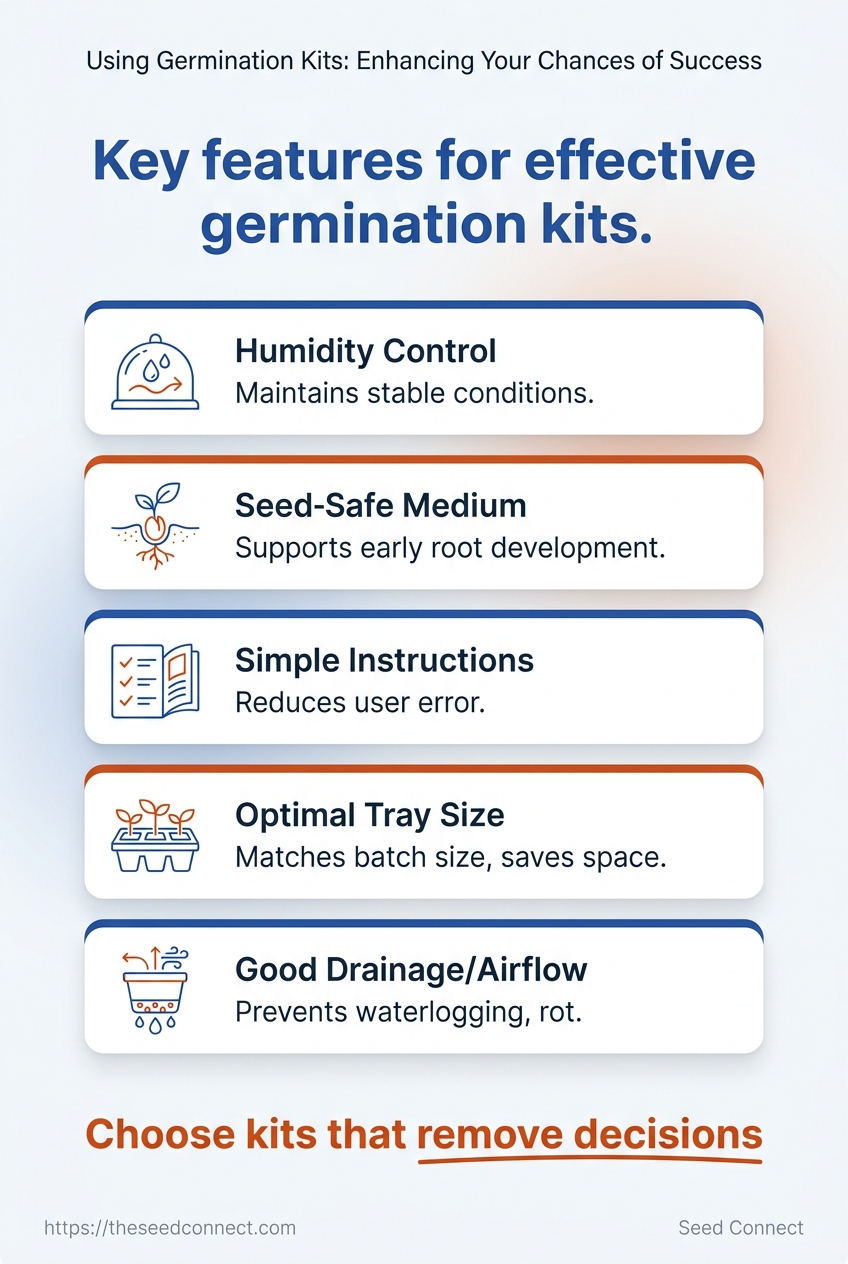
Features worth paying for
| Feature | Why it matters | Good sign | Red flag |
|---|---|---|---|
| Humidity control | Helps maintain stable conditions around the seed | Clear range or adjustable vents | No guidance at all |
| Seed-safe medium | Supports early root development | Clean, non-toxic starter plugs or cubes | Unknown or harsh materials |
| Simple instructions | Reduces user error | Step-by-step guide included | No setup guidance |
| Tray size and cell count | Matches your batch size and saves space | Sized for your normal seed count | Oversized or cramped layout |
| Drainage and airflow | Prevents waterlogging and early rot | Drain holes and a raised tray | Standing water or sealed base |
| Cleaning and reuse | Makes repeat runs easier | Washable parts and smooth surfaces | Brittle plastic or deep seams |
| Temperature support | Helps in cooler rooms | Works with a heat mat or insulated dome | Assumes the room is always warm |
| Labeling and handling aids | Keeps different seeds organized | Labels, markers, or clear cell layout | Everything looks identical |
The pattern is simple.
Strong kits make the environment predictable, while weak kits leave you guessing at every step.
For most buyers, the safest choice is the kit that removes decisions, not the one that adds features you will never use.
That usually means a clean tray, a controllable dome, and a starter medium you can trust.
That is where buying germination kits becomes practical instead of frustrating.
Pick the setup that fits your space first, then judge every feature by whether it makes early growth calmer and cleaner.
A simple routine can change your results
A grower who checks too often usually gets the same outcome: disturbed seeds and slow progress.
A calmer routine does more than keep things tidy.
It protects the one thing germination needs most, which is consistency.
That routine does not need to be fancy.
It just needs to be repeatable, from the first setup to the first check-in.
For most germination kits, the biggest mistake is treating the process like a race instead of a waiting game.
Start by making the kit ready before the seed goes in.
Once the seed is placed, leave it alone long enough for the environment to do its work.
-
Prepare the kit first. Set the medium, moisture, and cover in place before adding the seed.
The goal is a stable space, not a wet one.
-
Place the seed gently. Keep handling light and direct.
A rough touch can slow things down before the process even starts.
-
Seal and wait. Close the kit and leave it undisturbed.
Most growers do better when they stop opening it every few hours.
-
Check after 24 hours, then again at 48 hours. That timing gives you a realistic read without breaking the routine.
If conditions are right, early movement often shows before the second day ends.
-
Watch for the first sign of growth. A cracked shell or a small white root means the seed is moving in the right direction.
At that point, the focus shifts from waiting to careful handling.
For many seeds, 24 to 72 hours is the normal window before progress shows.
Some take longer, and that is not always a problem.
Older or slower seeds may need more patience, while fresh seed stock often moves faster.
The best success with kits usually comes from restraint, not constant checking.
A steady rhythm gives the seed the quiet, protected start it needs, and that simple habit often makes the difference between guesswork and reliable results.
Most failures are small handling mistakes, not bad luck
Most failed starts come down to handling, not fate.
A seed does not need perfect luck; it needs steady conditions and a little restraint.
That is why buying germination kits is only part of the story.
The kit can give you structure, but rough handling still creates the most common problems: seeds pressed too deep, medium left too wet, or a tray opened and closed too often.
Slow sprouting usually has a simple cause.
The trick is to check one variable at a time, instead of changing everything at once and losing the clue.
### Troubleshooting when seeds are slow to sprout
| Symptom | Likely cause | What to do next |
|---|---|---|
| No visible change after several days | Temperature too low | Move to a warmer, stable space and keep it consistent. |
| Medium feels dry | Not enough moisture | Recheck moisture without soaking, then restore even dampness. |
| Mold appears | Too much moisture or poor airflow | Improve airflow and clean the setup before continuing. |
| Seeds look swollen but still inactive | Handling stress or weak placement | Leave them alone, avoid moving them, and give them more time. |
A tray that stays cold can look fine for days and still stall.
A medium that dries at the top can fool you as well, because the seed zone may already be too dry.
Mold is the loudest warning sign.
It usually points to moisture that never got balanced with airflow, and that is often easier to fix early than late.
The safest habit is patience with a checklist.
If the seed has not cracked, check warmth first; if the medium feels light, check moisture next; if white fuzz shows up, back off on water and clean the area right away.
Success with kits often comes from those small corrections.
The cleaner the handling, the fewer mysteries you have to solve later, and the more predictable each start becomes.
Consistency matters more than fancy gear
Fancy gear rarely rescues a sloppy routine.
A modest setup that stays steady will usually beat an expensive one that changes every day.
That is why buying germination kits only makes sense when they help you repeat the same conditions without guesswork.
If your space is already stable, a simple method may be enough; if your room swings in temperature, dries out fast, or gets interrupted often, a kit starts to earn its keep.
When a kit is worth it: if you want fewer variables, a cleaner setup, and a more repeatable process. When simple methods are enough: if you already have a calm, controlled space and you only start seeds in small batches.
Germination success with kits usually comes from consistency, not complexity.
That idea matters even more when the first few tries feel uneven.
A seed-starting tray, dome, or mat can help, but only if the user keeps the routine stable long enough for it to work.
Where the kit helps most
-
Busy schedules: A kit reduces the need to improvise every morning.
-
Shared spaces: It keeps the process more contained and easier to manage.
-
New growers: It removes a few decision points that often cause hesitation.
-
Repeat batches: It makes it easier to compare results from one run to the next.
Where simple methods still win
-
Stable indoor rooms: A clean, warm shelf can be enough.
-
Small personal grows: You may not need extra parts for a few seeds.
-
Experienced hands: Some growers already know how to keep moisture and warmth steady.
Expert support becomes useful the moment a problem stops being obvious.
One grower may wonder whether a seed is stalled, another may not know if the medium is too wet, and another may need help choosing the right seed type for a tighter setup.
That is where our team focuses on fewer setbacks, not more gadgets.
A quick answer can save a day of second-guessing, especially when you are still building confidence with germination kits.
The best setup is the one you can repeat without thinking too hard.
If it keeps your process steady, it is doing real work.