To cultivate a thriving cannabis garden indoors, mastery over the environment is critical—grow room ventilation is paramount.
Crafting the perfect microclimate involves optimizing temperature and humidity and ensuring adequate air circulation to mimic the natural movements of the outdoor air. This task, while complex, is essential for promoting plant health, facilitating optimal growth, and preventing issues like mold, mildew, and pests that thrive in stagnant air environments.
The significance of ventilation in maintaining a controlled environment cannot be overstated, as it directly impacts plant transpiration, nutrient uptake, and overall yield quality.
This guide dives deep into the essentials of grow room ventilation, from understanding why ventilation is crucial for your cannabis grow room to identifying the critical components of an effective ventilation system. Through these sections, growers of all levels will gain the knowledge needed to create an ideal growing environment, ensuring their green thumbs lead to lush, vigorous cannabis gardens.
Why is Cannabis Grow Room Ventilation Crucial
Proper ventilation is the backbone of successful cannabis cultivation, pivotal in ensuring plants thrive in an ideal growing environment. This section delves into the critical reasons why ventilation is indispensable in a cannabis grow room, highlighting its impact on plant health, yield, and the overall success of the cultivation process.
Essential for Plant Growth and Yield Maximization
Good ventilation is synonymous with healthy plant growth and the maximization of yields. Adequate airflow within the grow room ensures consistent temperature, humidity, and CO2 levels, which are fundamental for the optimal development of cannabis plants.
By facilitating proper air exchange, ventilation systems help dissipate the heat generated by lamps and air conditioning systems, maintaining a constant and optimal temperature for plant growth.
Avoiding heat spikes is crucial as it could otherwise damage the plants, potentially leading to stunted growth and reduced yields.
Prevention of Mold and Pest Infestations
One of the significant benefits of proper ventilation is its ability to prevent mold and pest infestations. A lack of airflow can create hot and humid pockets within the grow room, which are ideal conditions for mold and mildew growth.
Conversely, good air circulation helps distribute fresh air throughout the space, carrying away excess moisture and preventing these issues.
Additionally, proper air circulation discourages the establishment of pests, such as spider mites and aphids, making it difficult for them to land on plants and reducing favorable conditions for disease development.
Maintenance of Optimal CO2 Levels
Cannabis plants require CO2 for photosynthesis, the process through which they convert light into energy for growth. A lack of CO2 can negatively impact plant growth and productivity.
Therefore, ensuring proper air exchange rates through good ventilation is critical for maintaining optimal CO2 levels and nutrient uptake. This leads to healthier plants and, consequently, a higher yield.
Good ventilation facilitates proper air exchange, helping maintain a balance of CO2 within the growing area, essential for photosynthesis and maximizing yields.
Regulation of Temperature and Humidity
Proper ventilation plays a vital role in regulating temperature and humidity levels within the grow room. Maintaining consistent temperature and humidity is essential for creating a balanced environment conducive to cannabis plant growth.
Without adequate ventilation, cannabis plants can become susceptible to a range of issues that hinder their growth and productivity, such as excessive humidity leading to mold formation and root rot, common problems in high-humidity environments.
Using exhaust fans and intake vents to create a continuous exchange of fresh air removes stale air, supporting proper air circulation and maintaining a well-ventilated environment.
In summary, ventilation is not just a supplementary aspect of cannabis cultivation but a foundational element that significantly influences the health and yield of cannabis plants.
By ensuring proper ventilation, growers can create an environment that supports robust plant growth, prevents diseases and pests, and maximizes yield potential.
Essential Components of a Grow Room Ventilation System
Extractor Fan
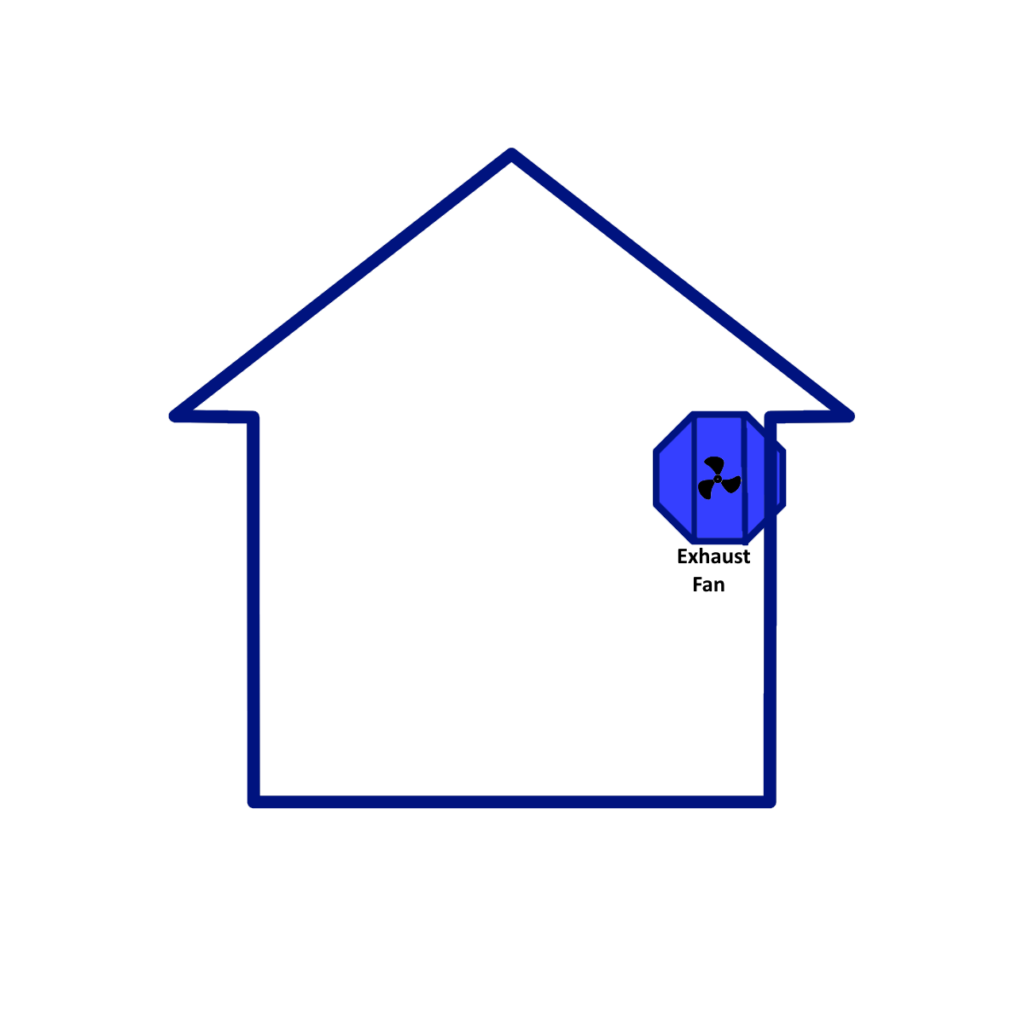
Extractor fans are crucial in removing stale air and circulating fresh air within a cannabis grow room. These fans are typically positioned at the highest point in the room to capitalize on the natural rise of warm air, ensuring efficient air extraction.
They are measured in cubic feet per minute (CFM), and it’s essential to choose a fan with a CFM rating suitable for the size of the grow space to manage air quality and temperature effectively.
Diagram of Extractor/ Exhaust Fan
Carbon Filters
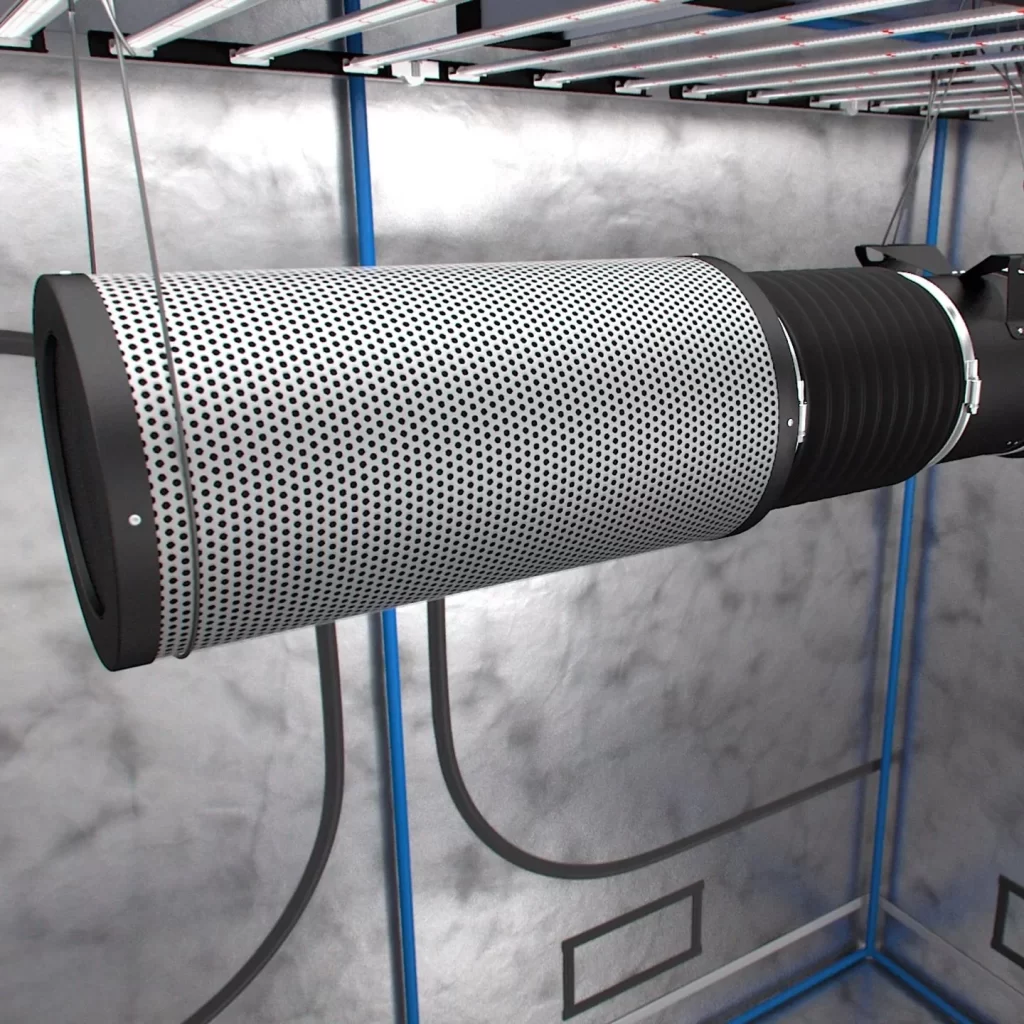
Carbon filters are integral to controlling odors in cannabis grow rooms. These filters use activated carbon to absorb odors and other volatile organic compounds from the air before it is vented outside, thus preventing the escape of recognizable cannabis scents.
It’s essential to ensure that carbon filters match the extractor fan’s CFM rating and that they are replaced or maintained per the manufacturer’s guidelines to remain effective.
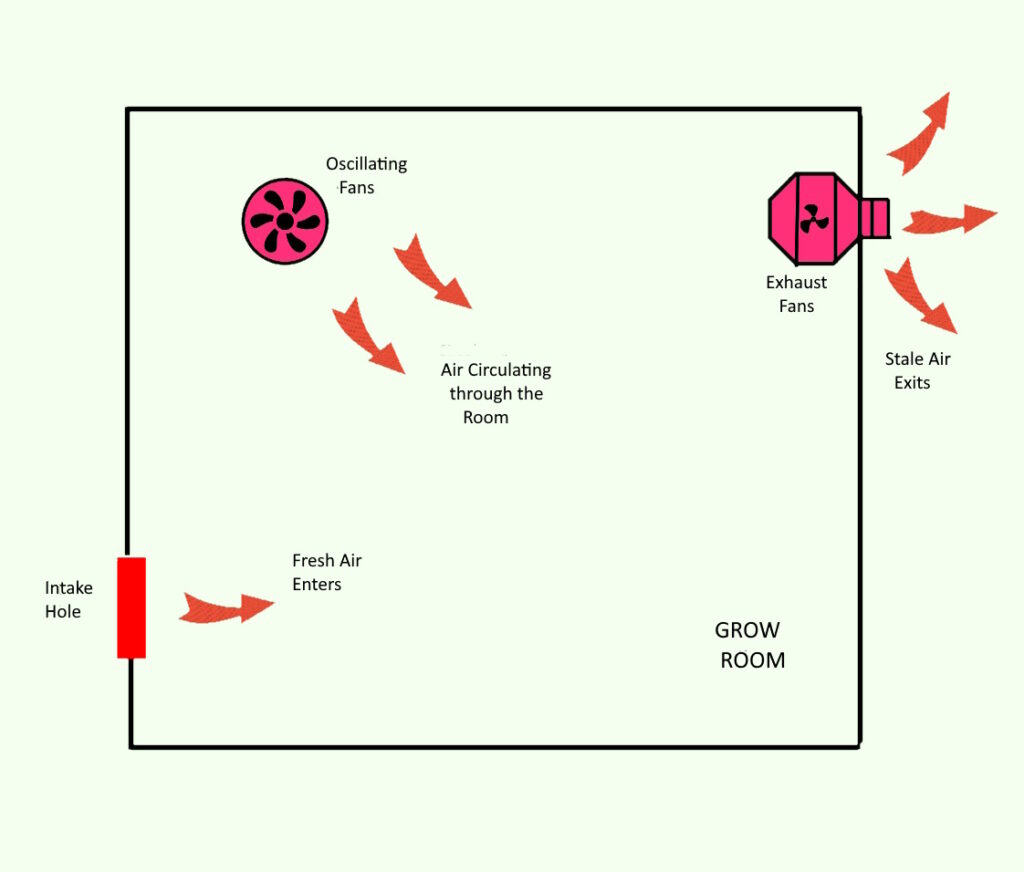
Oscillating Fans
Oscillating fans are vital in distributing air within the grow room, which helps maintain even temperatures and humidity levels and prevents mold formation. These fans also promote more robust plant stems by providing constant air movement, crucial for healthy plant growth.
Placing oscillating fans should be strategic to ensure optimal air distribution without directly stressing the plants.
Diagram of Oscillating Fans

Intake Fans
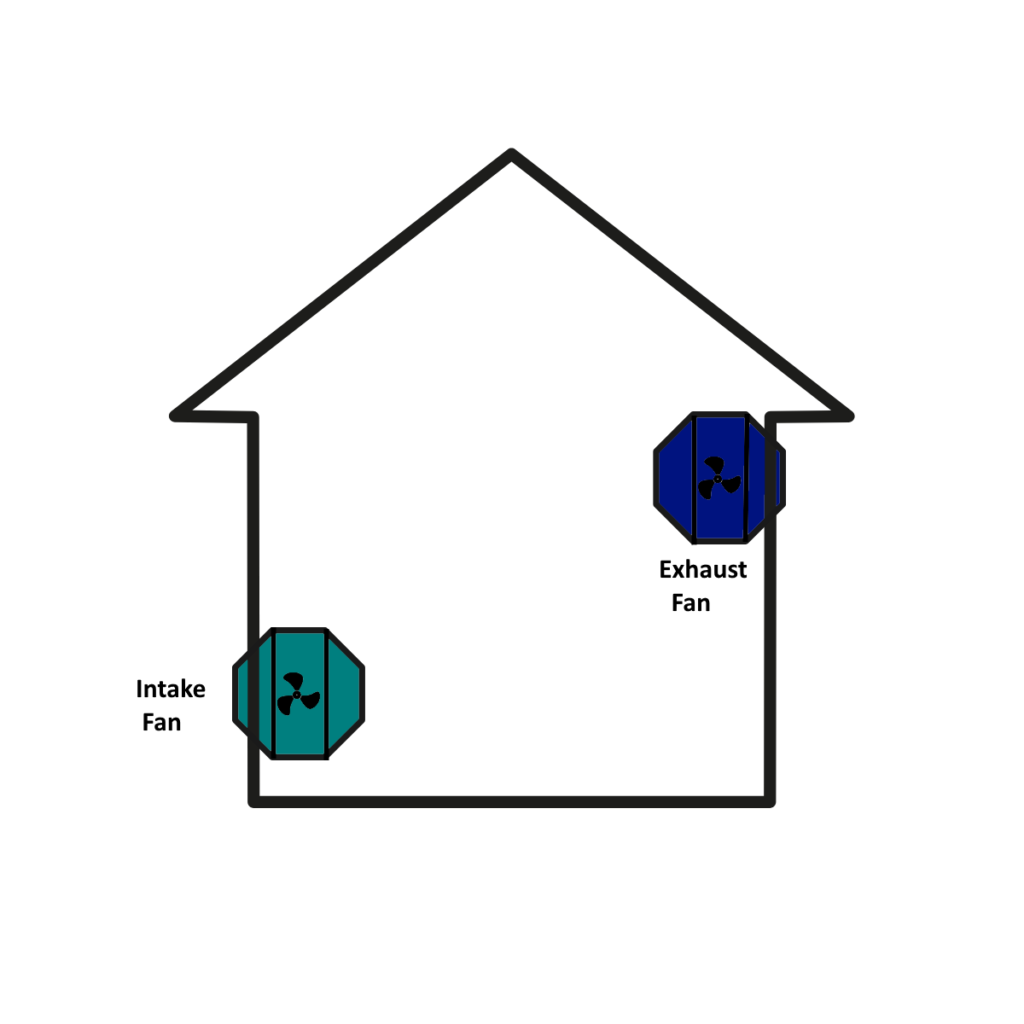
Intake fans draw fresh air into the grow room, which is essential for replenishing CO2 and controlling the grow room’s climate. The intake fan should generally be smaller than the extractor fan to maintain negative pressure, which helps prevent odor leakage.
Properly sizing and positioning the intake fan is critical to ensure efficient airflow and pressure balance within the grow room.
Diagram of Intake Fans
Each of these components works synergistically to create an environment that maximizes the growth potential and health of cannabis plants. Regular maintenance and timely replacement of parts like filters and fans are essential to optimize the ventilation system.
Passive vs. Active Intake
The air intake in a cannabis grow room is a critical factor that significantly influences the overall environment and health of the plants. This process can be achieved through two primary methods: passive and active intake.
Each method has its advantages and disadvantages, depending on the specific requirements of the grow room and the grower’s preferences.
What is Passive Intake?
Passive intake relies on natural airflow to bring fresh air into the grow room or tent through holes or vents. This method is cost-effective as it does not require an intake fan, making the grow room quieter since it eliminates additional vibrations from an intake fan.
Diagram of Passive Intake
However, the main drawback of passive intake is the lack of control over the exact airflow, which can make the grow room susceptible to insects or fungi.
To mitigate this risk, it is recommended to place netting over the intake grids and ensure that no light penetrates through, as light leaks can be a concern with passive intake systems.
Passive intake is most effective when used with strong extractor fans, which can create a slight negative pressure within the grow tent, indicated by the tent walls bending inwards.
What is Active Intake?
Active intake involves using an intake fan to pull air into the grow room, ensuring a much higher level of air circulation. This method is considered the best way to ventilate a grow room, providing superior control over environmental factors such as temperature, humidity, and CO2 levels.
Diagram of Active Intake

By maintaining a slightly lower CFM (Cubic Feet per Minute) for the intake fan compared to the exhaust fan, growers can achieve negative air pressure in the room or tent. This negative pressure is crucial for controlling the grow room’s climate and minimizing odor, ensuring more air is leaving the room than entering.
The intake fan should be positioned near the bottom of the grow tent or room for optimal setup to intake the freshest air possible.
Additionally, using a section of aluminum tubing can help direct fresh air flow around the plants, and an anti-pollen filter can prevent insects and pathogens from entering the grow room.
Choosing Between Passive and Active Intake
The choice between passive and active intake largely depends on the grower’s specific needs and the size of the grow operation. Passive intake is best suited for small to moderately-sized facilities or grow tents where the environmental conditions are not extremely challenging.
It is a cost-effective and more straightforward solution but comes with the risk of pest issues and odor problems due to the system not being completely sealed.
Active intake, conversely, is recommended for larger tents, high-temperature environments, or situations where fine-tuning the growing environment is necessary. It offers more control and efficiency but requires an additional investment in intake fans and potentially more complex setup procedures 26.
Regardless of the method chosen, it is essential to ensure proper air circulation within the grow room to support healthy plant growth. Including a spinning fan near the air intake, whether passive or active, facing the plants can prevent fresh air from stagnating and ensure it reaches the plants effectively. This practice enhances the overall effectiveness of the ventilation system, contributing to a conducive growing environment.
In summary, both passive and active intake methods have their place in cannabis grow room ventilation strategies. Growers must assess their needs, grow room size, and environmental challenges to choose the most suitable intake method.
Regular maintenance and careful monitoring of environmental conditions are vital to maximizing the benefits of the chosen ventilation approach.
How to Calculate the Correct Fan Size
Step-by-Step Calculation of Fan Size for Grow Tents
Calculating the correct fan size for a grow tent is crucial for maintaining optimal air quality and ensuring the health of cannabis plants. Here’s a detailed guide on how to determine the appropriate fan size based on various factors:
- Calculate the Basic Airflow Requirement
- First, determine the volume of your grow tent by multiplying its width, length, and height. For instance, a tent measuring 4 ft wide, 4 ft long, and 6.5 ft high has a volume of 104 cubic feet.
- The primary airflow, measured in Cubic Feet per Minute (CFM), should ideally match the volume of the tent to replace the air every minute.
- Adjust for Additional Factors
- Lights: Add 10% to the airflow for each grow light, as lights can reduce fan effectiveness by increasing the temperature.
- Filters: Add 25% for each carbon filter present, as they can restrict airflow.
- Ducting: Increase the CFM by 1% for every foot of ducting used in the setup.
- Bends in Ducting: Add 30% for each 90-degree bend and 15% for every 45-degree bend in the ducting.
- External Heat: If the tent is in a warm area like an attic, consider adding 10% to compensate for increased ambient temperatures.
- Calculate the Total Required Fan Capacity
- Combine the adjustments to determine the total percentage increase needed. For example, with one light, one filter, 5 feet of ducting, including a 90-degree bend, the total increase would be 70%.
- Convert the percentage increase to a decimal (0.7) and add it to 1.0. Multiply this factor (1.7) by the base CFM (104) to get the required fan capacity, which would be approximately 176.8 CFM 37.
- Select the Appropriate Fan Size
- Based on the calculated CFM, choose a fan that meets or exceeds this requirement. For CFM values less than 205, a four-inch fan is suitable. For values between 205 and 402, a six-inch fan is recommended.
Considerations for Intake Fans
When selecting intake fans, it’s important to note that they do not have to match the exhaust fan’s capacity. Typically, an intake fan can have a rating of 25% lower than the exhaust fan. This balance helps maintain negative pressure within the grow space, essential for optimal plant growth and environmental control.
Summary Table for Calculating Fan Size
| Step | Action | Detail |
| 1 | Calculate Tent Volume | Width x Length x Height |
| 2 | Base Fan Capacity | Volume = CFM needed |
| 3 | Adjust for Components | Lights, Filters, Ducting, Bends, External Heat |
| 4 | Final Fan Capacity | Base Capacity x Adjustment Factor |
| 5 | Select Fan Size | Based on Final CFM |
By following these steps and considering the factors affecting fan performance, growers can ensure they select the correct fan size for their cannabis grow room, optimizing air circulation and contributing to a thriving cultivation environment.
Step-by-Step Guide to Setting Up a Ventilation System
Choosing Your Fans and Filters
The initial step in setting up an effective ventilation system in your grow room involves selecting the right components. Begin by determining the cubic feet of your grow space to choose an exhaust fan with the appropriate CFM rating. For instance, a 4′ x 4′ grow tent that is 6′ tall has a volume of 96 cubic feet.
An exhaust fan with a CFM rating of 100-300 is advisable, allowing for air exchange every few minutes while operating quietly and efficiently.
Similarly, ensure the intake fan is 20-30% less potent than the exhaust fan to maintain negative pressure, which is crucial for plant health 46. It’s also vital to match the size of your exhaust fan with your carbon filter to ensure compatibility and effectiveness.
Installing the Exhaust Fan and Carbon Filter
Installation of the exhaust fan and carbon filter is a pivotal step. Ideally, the exhaust fan should be mounted at the top of the grow tent to effectively remove warm air, with the carbon filter attached directly to the fan using clamps or duct tape. This setup should be connected to ducting that directs the exhausted air outside the grow space, ensuring efficient removal of heat and odor.
By placing the carbon filter at the highest point, you leverage the natural rise of warm air for optimal odor control and air purification 45.
Installing the Intake Fan
Position the intake fan at the opposite side of the tent and near the bottom to facilitate the movement of cool, fresh air across the plants. This placement helps create a thorough air exchange and maintains a balanced environment.
If external air is used, consider installing a HEPA filter or bug screen on the intake fan to prevent contaminants from entering the grow space. Ensuring the intake fan is slightly less potent than the exhaust fan will help maintain the desired negative pressure within the grow tent.
Positioning the Oscillating Fans
Oscillating fans should be strategically placed to ensure even air distribution and to avoid direct airflow on plants, which can cause damage. Start by positioning fans in various locations to identify the most effective spots for air movement around the plants.
Clip-on fans can also address airflow in hard-to-reach areas, ensuring no part of the grow space suffers from stagnant air. Regular adjustments might be necessary to optimize the placement of these fans as the plants grow and the environment changes 49.
By following these steps and regularly maintaining and checking the setup, growers can create an optimal growing environment that enhances plant health and maximizes yield.
Tips for Optimizing Ventilation
Sealing Your Grow Space
To optimize ventilation in a grow room, it is crucial to ensure the space is completely sealed. This can be achieved using duct tape, which helps prevent air leaks that could disrupt the environment’s control.
Proper sealing is particularly important in setups using negative pressure, as it helps maintain the desired environment by preventing external air from entering through gaps.
Minimizing Ducting Length and Bends
Effective ducting is essential for maintaining efficient airflow and ventilation. Keeping ducting routes as short and straight as possible is recommended to minimize the resistance and ensure air flow freely.
Avoiding tight bends and long duct runs helps prevent the reduction of airflow, which can compromise the ventilation system’s efficiency.
Two 45-degree bends instead of one 90-degree bend can significantly reduce airflow restriction.
Additionally, ensuring ducts are not crimped or tightly bent at installation points will help maintain consistent air delivery to the intended areas 55.
Maintaining Negative Pressure
Maintaining negative pressure within the grow space is critical for effective odor control and ensuring that contaminants do not escape into the surrounding environment. This involves setting up exhaust systems that remove more air from the space than is brought in through intake systems, creating a slight vacuum effect.
It is essential to balance the intake and exhaust to maintain this negative pressure without stressing the plants, which can be achieved by adjusting the speed of fans or the size of vents to fine-tune the airflow.
By implementing these strategies, growers can optimize their ventilation systems, enhancing the overall health and productivity of their cannabis plants.
Additional Tools and Equipment for Better Ventilation
Air Conditioners
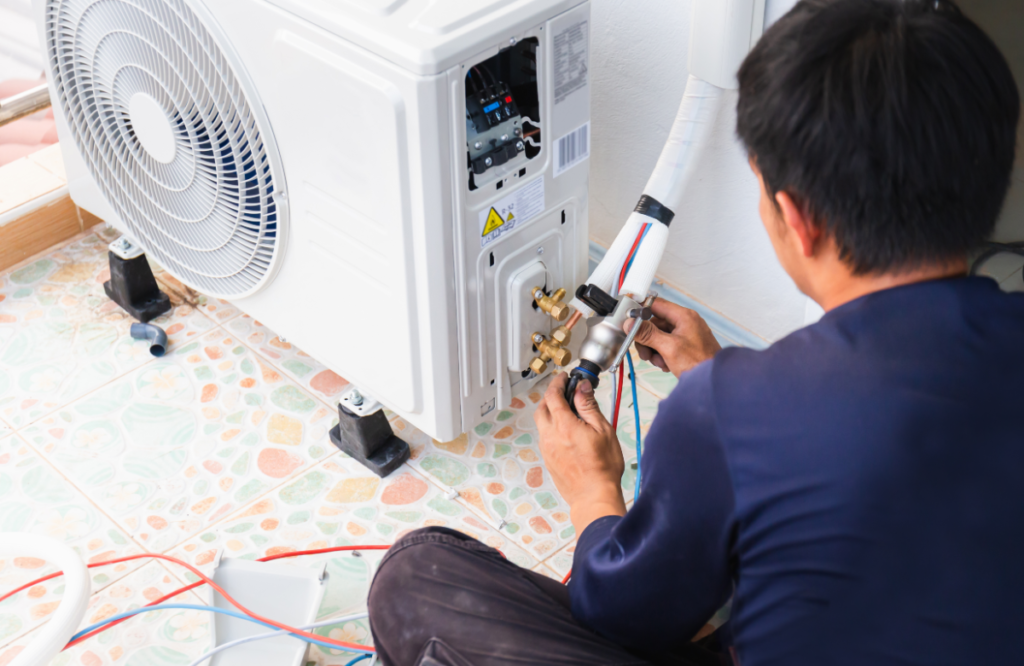
Air conditioners are crucial in maintaining the ideal temperature and humidity within a cannabis grow room. Rooftop air conditioners, for instance, are designed to handle the cooling load of the room, removing a portion of the moisture during the lights-on growing phase.
These systems are beneficial as they work with portable dehumidifiers to address any dehumidification shortcomings of the rooftop units 61.
Purpose-built environmental control systems like the DesertAire™ GrowAire™ offer an all-in-one solution, handling air conditioning and dehumidification. This advanced system efficiently manages temperature and humidity, adjusting heat or cool air as required during different growth cycles.
Air Coolers
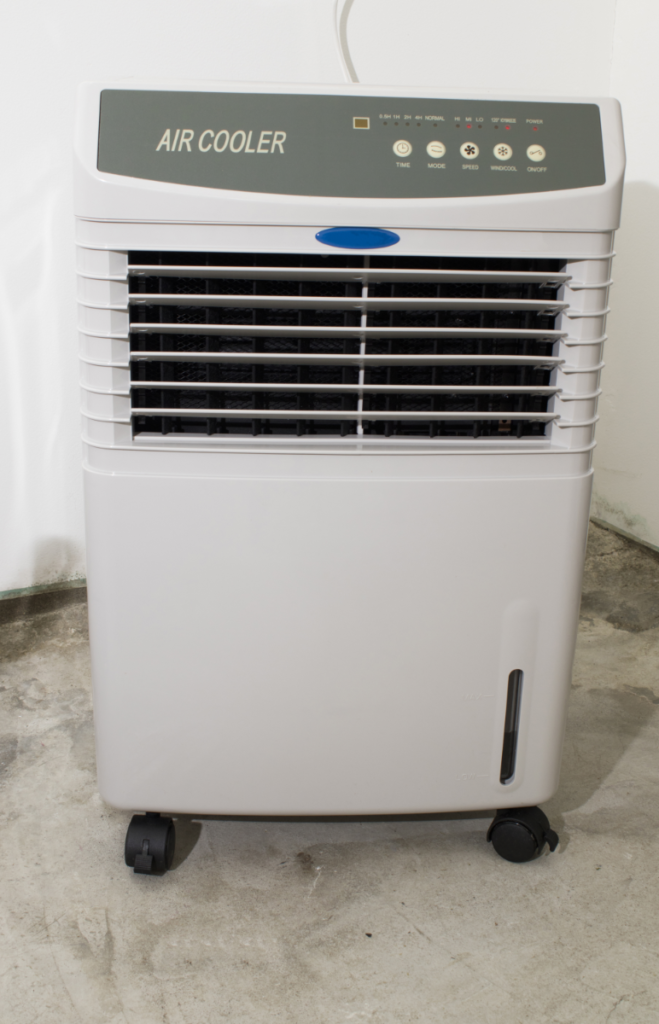
Evaporative coolers, also known as swamp coolers, are particularly effective in hot and dry climates with low humidity, such as the Southwestern United States.
These coolers operate by evaporating water to cool the air, which can also help increase humidity levels in environments too dry for cannabis plants 64.
However, their effectiveness diminishes in high humidity or cooler temperatures, where they might not adequately cool the air and could raise humidity levels to detrimental levels for the plants.
Adjusting settings based on external ambient temperatures to achieve optimal cooling and humidity control is crucial when installing an evaporative cooler.
Dehumidifiers
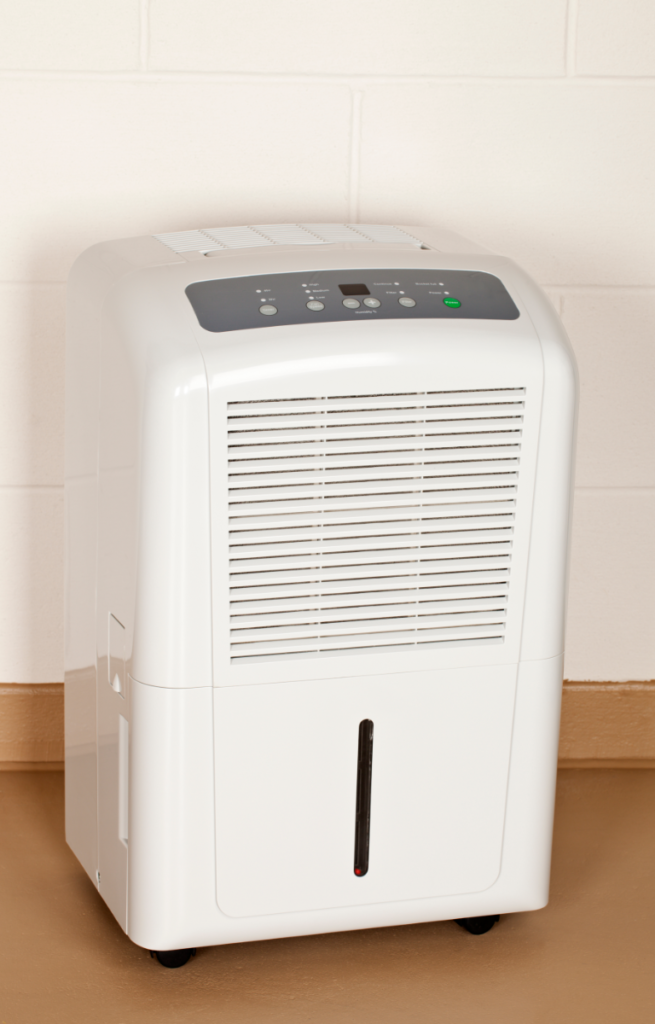
Dehumidifiers are essential for managing the high levels of moisture that naturally accumulate in grow rooms. These devices are crucial for preventing mold development and maintaining the ideal humidity levels for cannabis plants, which typically range from 40% to 60%.
The capacity of dehumidifiers varies greatly, with some capable of removing up to 710 pints per day, making them suitable for large-scale operations.
Matching the dehumidifier’s capacity with the plants’ water intake and the grow room’s overall size is essential. For instance, a dehumidifier like the DG-X is specifically designed for commercial grow rooms.
It offers features like a patented air circulation system to ensure uniform humidity control throughout the space 67.
Common Issues and Troubleshooting
High Temperature
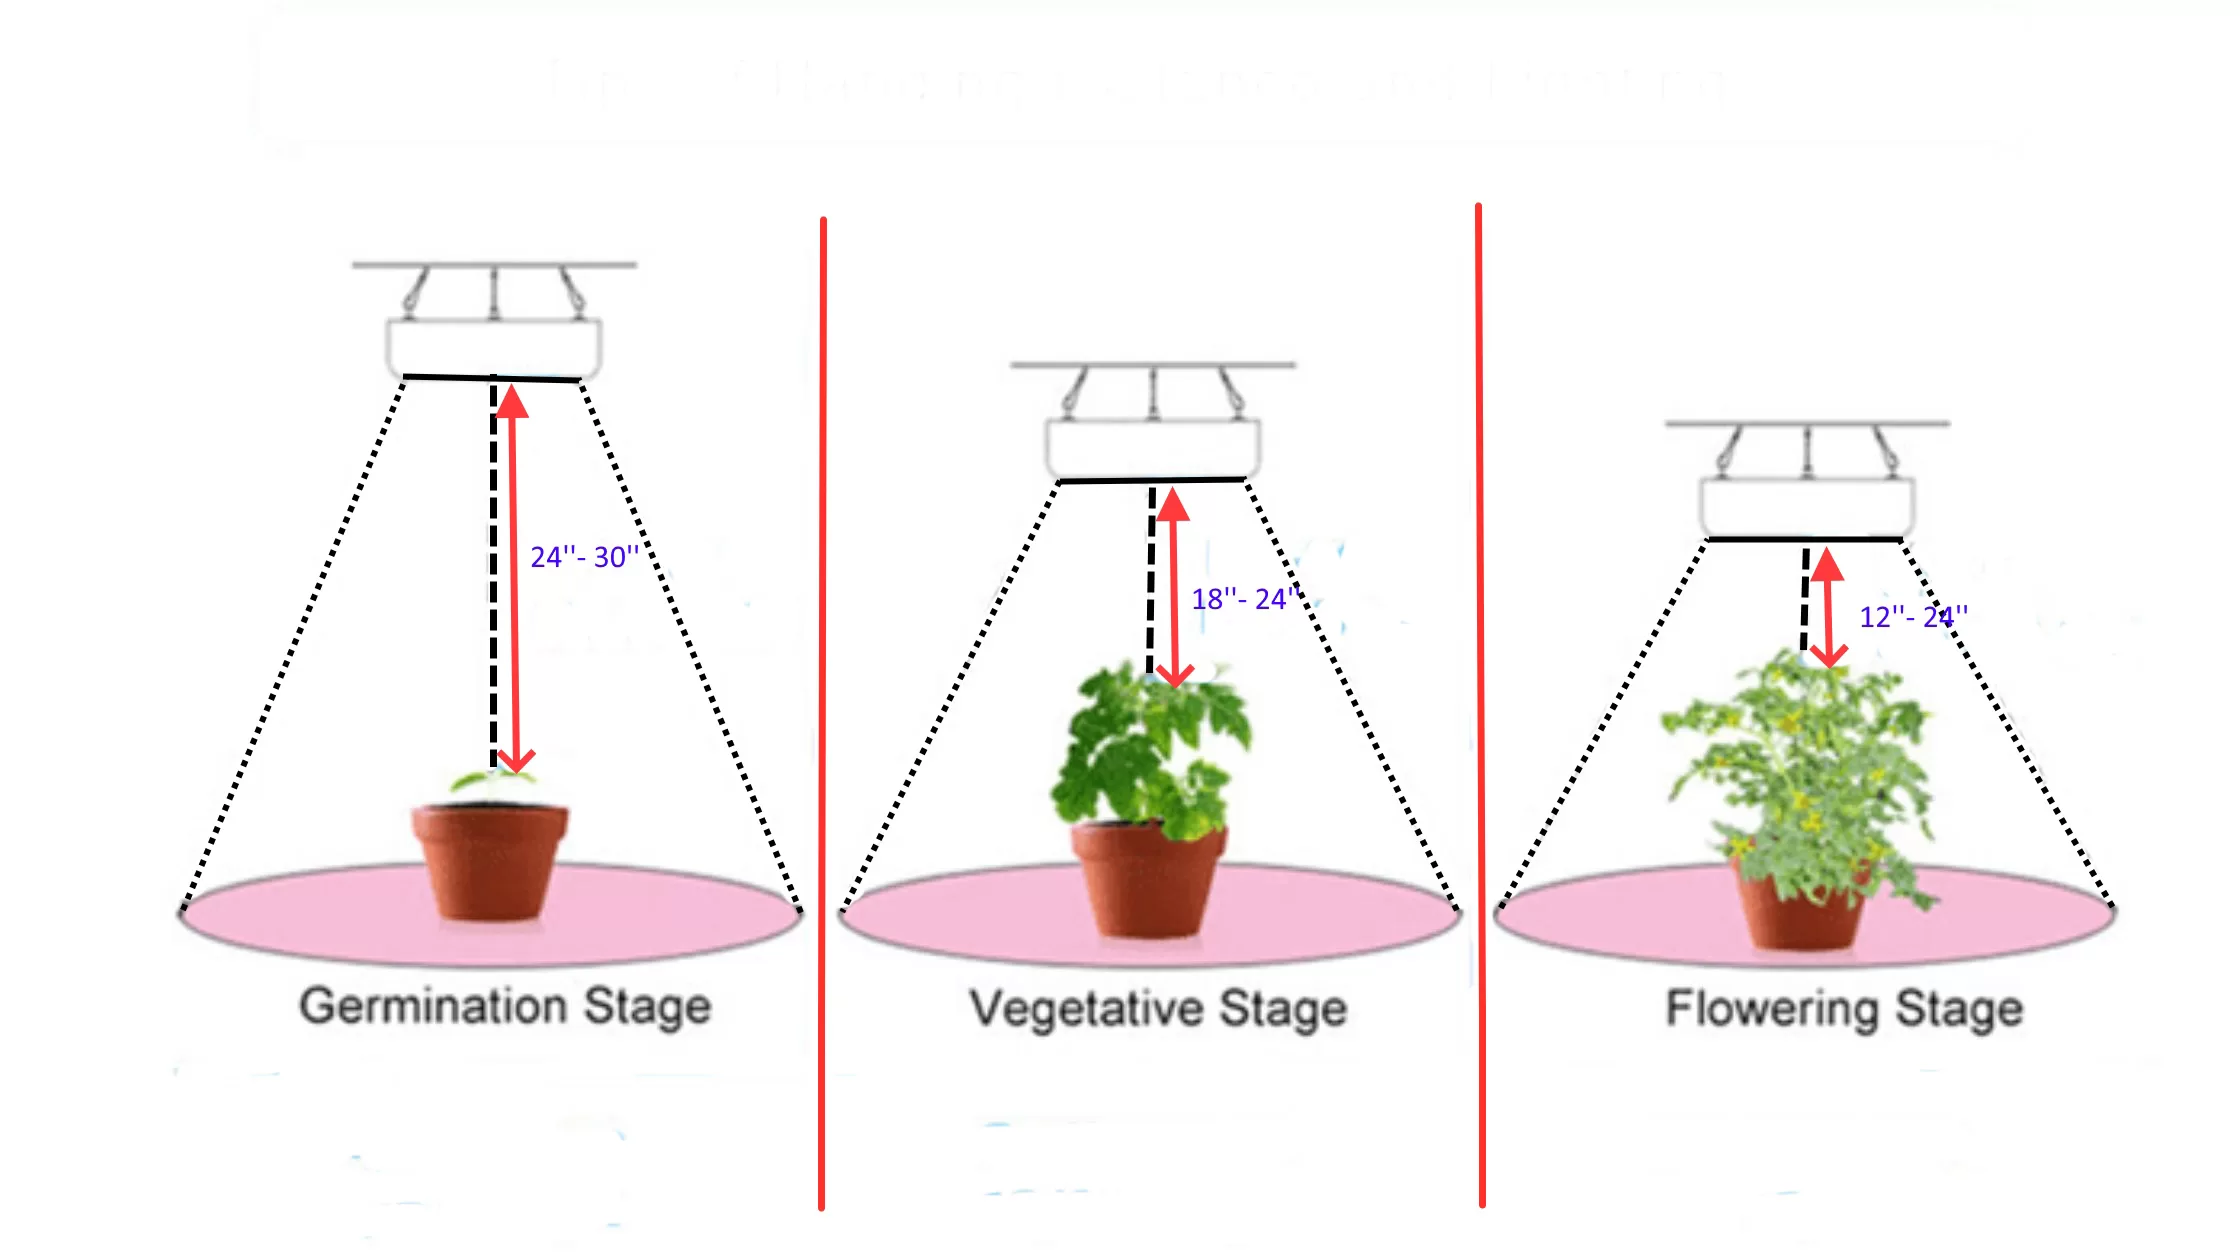
High temperatures in the grow room can severely impact cannabis plants, affecting everything from photosynthesis to seed germination and flower development. Optimal temperatures should range between 68–79°F (20–26°C) with lights on and 61–72°F (16–22°C) with lights off.
Exceeding these temperatures can lead to various issues, including reduced moisture for seed germination, stress on plants’ roots and leaves, and potential hermaphroditism or tissue death.
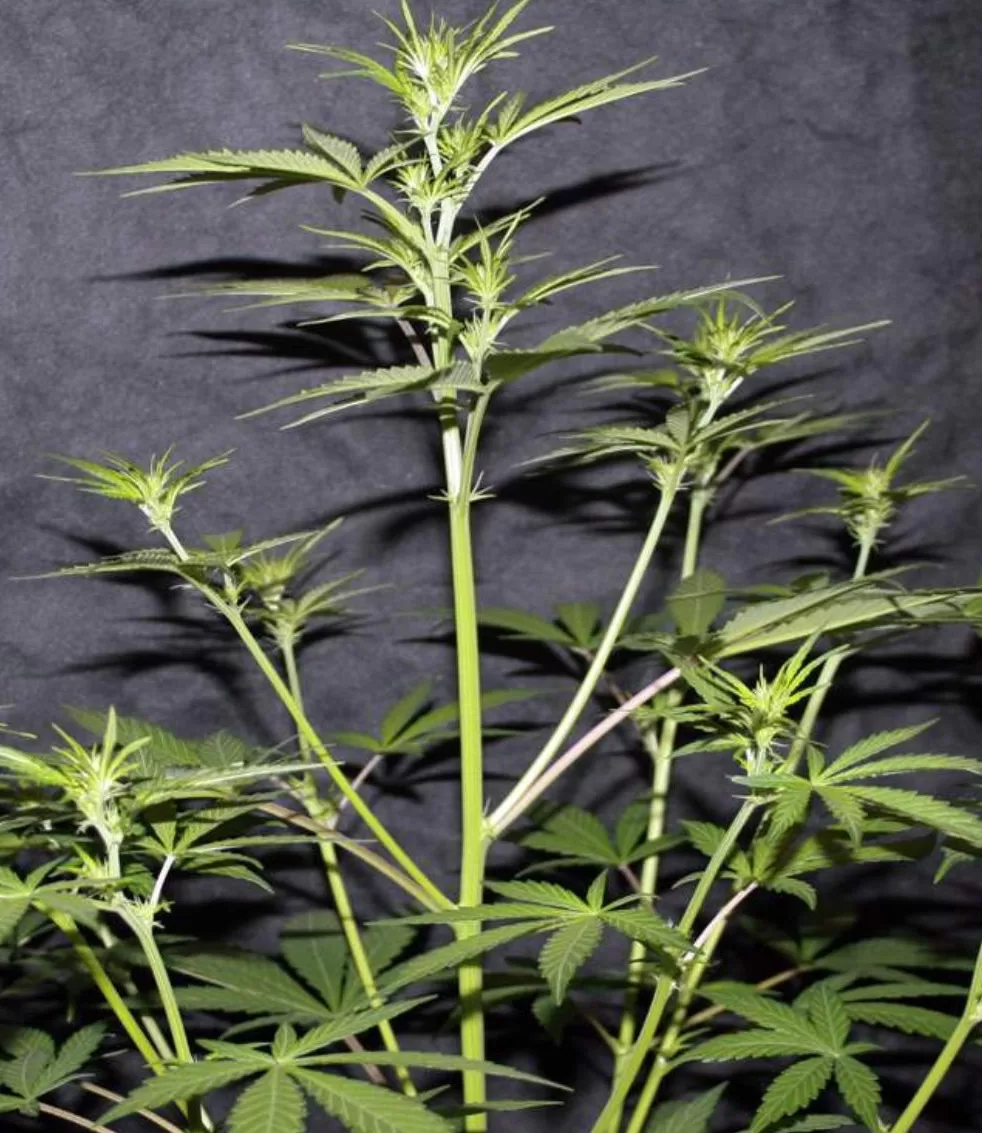
Signs of heat stress at various growth stages include pale and withered new leaves in seedlings, dry and curling leaf tips during the vegetative stage, and yellowing leaves and altered bud growth during the flowering stage.
High Humidity
Managing humidity is critical in a grow room, as improper levels can lead to disease and pest infestations. High-humidity environments are conducive to mold and bud rot, making plants unusable, while low humidity can stop plant growth and cause a nutrient burn.
Ideal humidity levels vary throughout the growth cycle, generally recommended to be between 40-60% for most stages. High humidity can be controlled by improving ventilation and dehumidifiers and ensuring proper water management practices.
Odor Issues
Odor control is a significant challenge in cannabis cultivation, requiring adequate ventilation, air purification, and adherence to local regulations. A robust ventilation system, including carbon filters and exhaust fans, is essential for capturing and neutralizing odors.
Creating a sealed environment and maintaining negative air pressure can also prevent odors from escaping cultivation areas. Regular use of odor neutralizers and absorbers, along with strict waste management protocols, are also crucial in minimizing odor emissions.
Regular cleaning and maintenance and staff training on odor control practices play vital roles in managing this issue effectively.
By addressing these common issues with the appropriate strategies and regular maintenance, growers can prevent significant losses and ensure a healthy growing environment for cannabis plants.
Conclusion
And there you have it, folks! A comprehensive guide to creating the perfect cannabis grow room ventilation system. With proper planning, execution, and maintenance, you’ll have a grow room ventilation that rivals Mother Nature herself. Remember, a well-ventilated grow room is the key to healthy, happy plants and a bountiful harvest. So get started on your ventilation masterpiece, and may your cannabis plants thrive like never before!
FAQs
What is the Optimal Ventilation Setup for Cannabis Plants?
To create an ideal environment for cannabis plants, employing small fans within the grow area is highly effective. These fans should circulate air around the space, ensuring a breezy atmosphere that supports plant health. If the temperature and humidity levels remain stable with the grow lights activated, these small fans are sufficient for maintaining optimal conditions.
What Constitutes Proper Airflow for Cannabis Cultivation?
Achieving the right airflow in a cannabis grow area involves using small oscillating fans directed at the plant canopy. Fans that come with adjustable settings are particularly beneficial, allowing for precise control over airflow. Additionally, installing an exhaust system can enhance air circulation by continuously introducing fresh air into the grow space.
How Can I Establish a Ventilation System in My Grow Room?
Setting up a ventilation system in a grow room involves a few key steps:
- Start by selecting and sizing your exhaust and intake fans, carbon filter, and obtaining a controller.
- Proceed to install the exhaust fan and carbon filter.
- Place your intake fan opposite the exhaust fan to ensure efficient air circulation.
- Finally, hang and position your circulation fans strategically within the space.
How Frequently Should the Exhaust Fan Operate in a Grow Tent?
It’s crucial to replace the air in your grow area at minimum every 5 minutes while the lights are on. If you’re encountering challenges with managing heat or humidity, you may need to cycle the air even more frequently to maintain a conducive growing environment.